Last Updated on March 22, 2022 by Lori
RV Camping is one of the BEST decisions we’ve made as a family. We love the freedom we have to pull our travel trailer all over the country whenever we want to “go exploring!”
But, camping can be a stressful time for many families. We’ve seen it many times at campgrounds where families pull their RV or travel trailer into the campground for a weekend away – only to find out that setting up their RV and campsite can be one of the most stressful parts of their trip!
But – it doesn’t HAVE to be stressful!
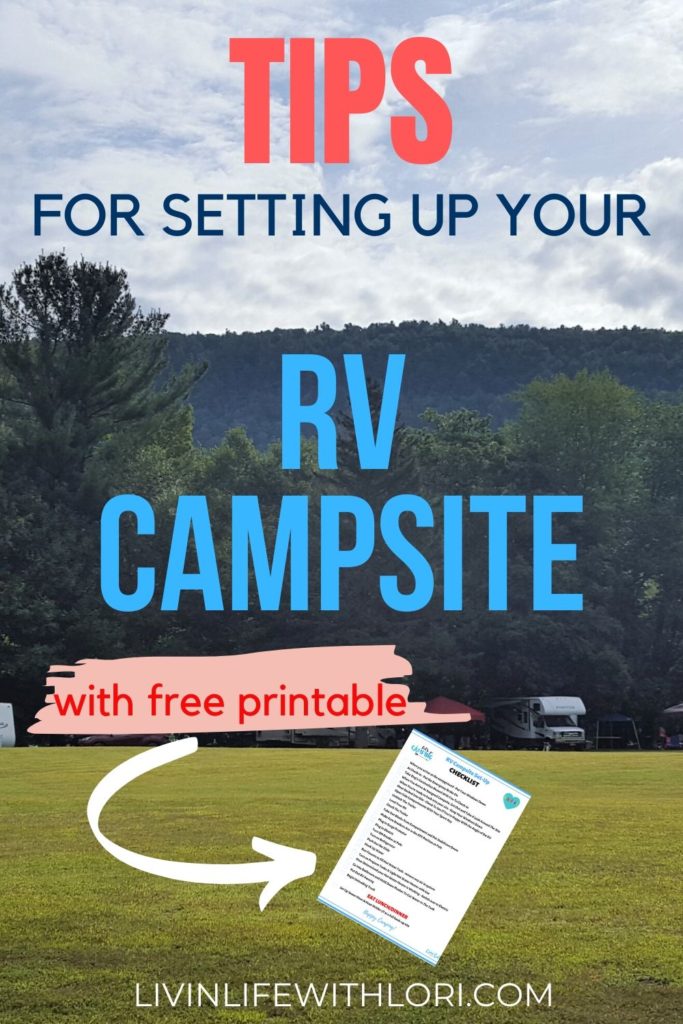
Here is our step-by-step guide How To Easily Set Up Your RV Campsite where we outline the steps to get your campsite set up in no time! Plus – Download your FREE RV Campsite Checklist too!
This post may contain affiliate links which means if you click a link and make a purchase, I will earn a commission at no additional cost to you. Please see our Disclosure Policy for more information.
Tips For Setting Up Your RV Campsite
Setting up your campsite can be stressful. If you’re not careful, you could make a mistake that will ruin your perfectly planned camping trip!
I can tell you that we’ve witnessed arguments, heard lots of yelling, witnessed an RV almost backing into a picnic table; and, one time, we even saw a father get so frustrated trying to maneuver the trailer into the spot, that he tore out of the campground leaving his family standing at the campsite!
He finally returned, a little while later, much calmer and he successfully backed into their site.
If this sounds familiar, I am here to tell you that setting up your campsite will soon become much easier, and almost rote when you arrive at your campground.
BUT…there is ONE thing that you absolutely CANNOT do…and that is to become complacent.
When you become complacent, that’s when accidents happen.
You MUST keep your eyes and ears open at all times when you arrive at the campground! There are children riding bikes, people walking their dog, golf carts whizzing by and lots of other things happening at the campground when you arrive.
You need to concentrate, look around, and listen as you pull in or back into your site.
If you’re a new RVer, you might be thinking – What’s the First Thing I Even DO When I Get To The Campground?
To help you begin to think about those things you need to do, I’ve put together
25 Tips To A Smooth RV Campsite Set-Up
PLUS an RV Campsite Set Up a Checklist
We use this list every time we pull into a campground. This checklist is just a guide for you.
Of course, depending on your type of RV or travel trailer, you may have additional steps that need to be done before your set-up is complete.
Tips For Check-in At The Campground
1. When you arrive at the campground – Put Your Windows Down
I didn’t realize until recently that the first thing my husband does when we pull into the campground is to put the windows down.
Why does he put the windows down?
He is not only listening for kids, bicycles, people and other traffic, but he is also listening for tree branches.
2. At Check-in – Put the Emergency Brake On
You may be tired and not thinking clearly after a long ride. The last thing you want is your RV rolling.
3. Don’t Forget To Take in your Dog’s Vaccination Records to Check-in.
Sometimes they ask, sometimes they only ask if you have them. I’ve even had them ask for an updated list of ALL Immunizations for our dog.
Luckily, I read that in the “Policies” of the campground before we left on our trip and was able to run to the vet to get a copy.
Now, I ALWAYS keep an updated list of Buddy’s Immunization Records in the truck – just in case!
Related Reading: You might want to check out my post – RV Travel With Your Dog – What You Need To Know
4. When you arrive at your assigned campsite, get out and take a look around the site.
Here are a few things to look for:
-
- Look at the surroundings. Check where the utilities are located, where trees are located, the picnic table is located (you might have to move the picnic table before you back into your site)
-
- Look for anything on the ground that you may back over
-
- Determine how far from the utility pole you need to be in order for your slide(s) to clear. Also note, if there are any trees or shrubs that may be close to your slide out.
- Make a plan as to how far back in the campsite you want your RV and let your “guide” person know.
5. When you’re ready to back into your site – keep your windows down.
Whether you are using a walkie talkie or just plain ‘ole verbal directions, you need to hear what’s going on.
6. Once you’ve backed into the site, check to see if you’re happy with the angle of the RV or whether you need to adjust to give you a little more room for your camping set up. Double-check to make sure your slide out will clear, that you can reach the utility pole and your sewer hose can reach!
7. Open the side Compartments with Your Spare Key to gain access to your Chocks & Leveling Blocks.
8. Check To See That Your RV Is Level From Side To Side
We open our compartment and pull out our level. Then we open the trailer and set the level in the doorway.
We have found most sites to be pretty level side-to-side. If you find you need to level Side to Side, you need to pull out your Leveling blocks to get the desired level. We use our Lynx Levelers which work just fine.
Here’s a photo of one of the few times we have had to use our levelers – but were we ever happy we had purchased them!
9. Chock the trailer.
After you’re satisfied that your trailer is level (and if your husband or significant other is a stickler like mine is – that BUBBLE MUST be in the middle!!), go around to each tire and use your chocks to keep the trailer from rolling.
These are the chocks we use and have worked for us. (Remember these come in a package of 2 so be sure to purchase the correct amount you will need!)
10. Now You’re Ready To Unhitch The Trailer.
Now that you’ve unhitched the trailer, you can level the trailer from front to back. If the level shows you need to level front to back (so your feet aren’t higher than your head at bedtime!), just use your jack to level.
11. Take out blocks from the compartment and put the stabilizers down.
12. Go To Electric Pole and Make Sure Breakers are in the OFF position.
The last thing you want is to get a spark.
13. Plug in your surge protector then RV cord
14. Turn ON the Breaker.
15. Turn on the Refrigerator.
We do not travel with our refrigerator on. Some people do, and some don’t. It’s a matter of preference.
16. Push out the Slide.
Have your spotter check to make sure the slide is clear and won’t hit anything.
17. Hook Up Water.
We use a “Y” and a water pressure regulator. It’s always a good thing to have a regulator so there are no surges in water pressure.
18. Run Faucets to fill Hot Water Tank & remove any air in the system
19. Turn on Propane Tanks & Light Hot Water Heater with Gas
We do this to make sure everything is working. Then we switch over to electric
TIP: One way to help gas get into the line is to turn on the stove burners in the kitchen first.
20. Once you’ve determined your how water heater is working switch over to electric to save your propane gas.
21. BEFORE you use your RV Bathroom, go into the bathroom and hold down the flusher to get water in the tank. You may even want to add a deodorizer pack as well.
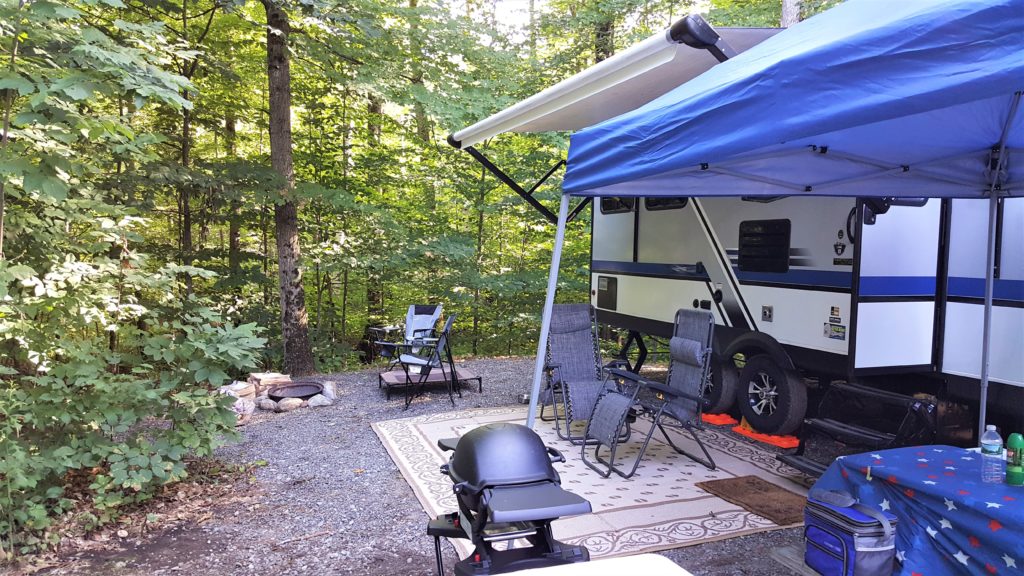
22. Put out RV Awning
23. After everything is working, I start lunch!
We’re usually starving by now, so I pack deli meats and cheeses make a quick sandwich.
While I make lunch, my husband continues with unloading the back of the truck so we can eat!
Related Reading: You might like to try these 6 Quick & Easy Meals To Make When You Are RV Camping
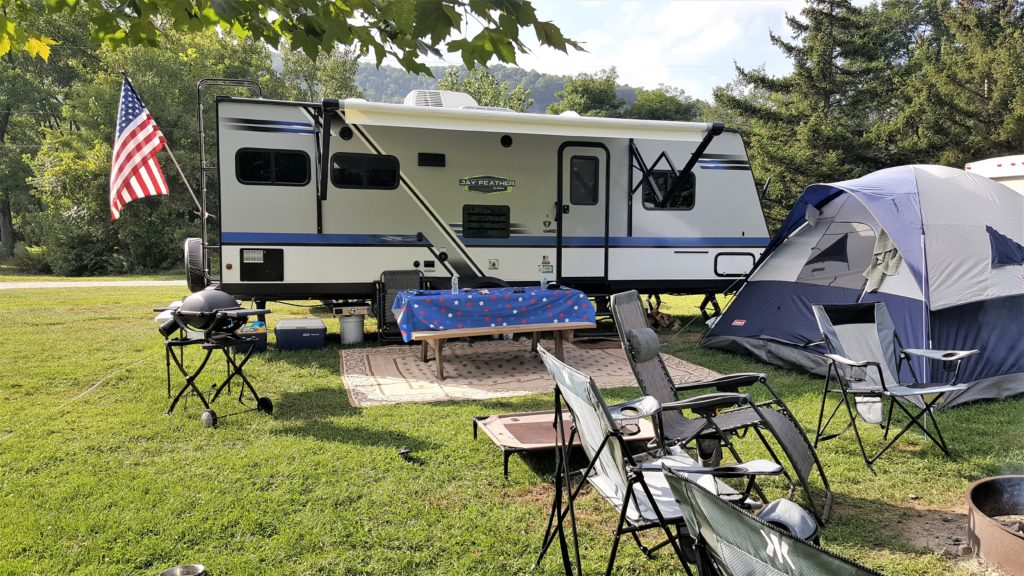
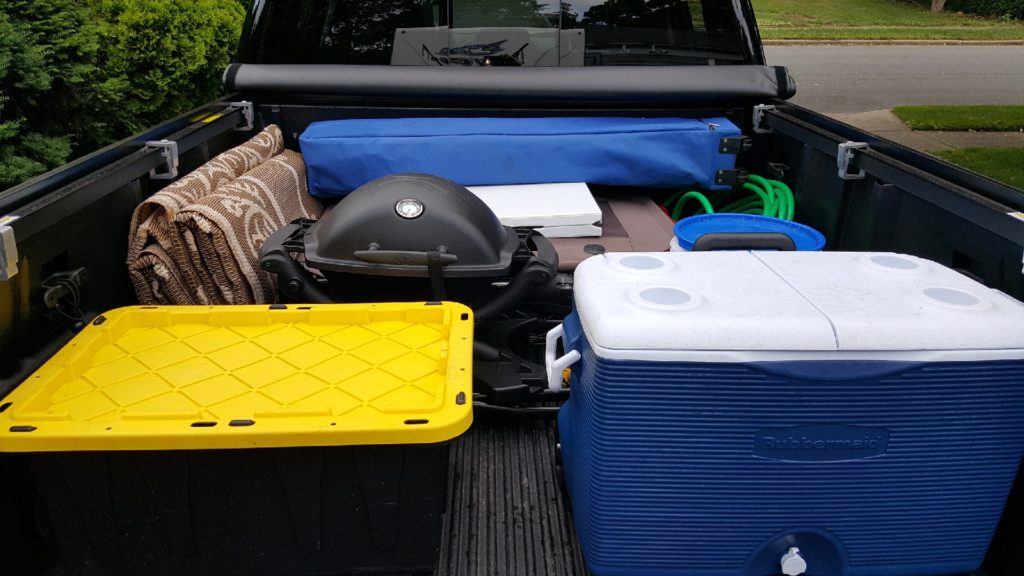
24. We back the truck close to the site and begin unloading.
-
-
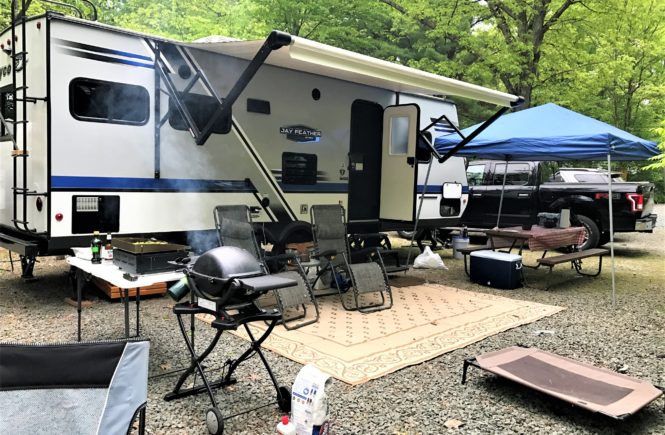
- RV Mat
- Cooler
- Pop up Tent
- Move picnic table under pop up tent
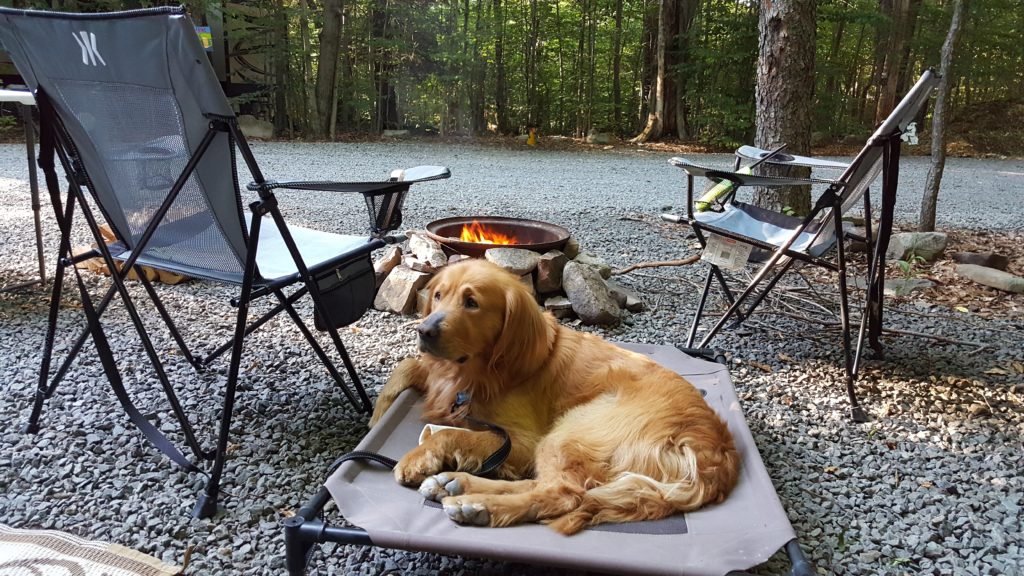
- Set up Zero Gravity chairs
- Set up Buddy’s dog bed
- Take out the container with picnic table cloth, table cloth clips, citronella candles
-
Related Reading: You might want to read my post How To Organize Your RV Items in the Back Of The Truck
TAKE A BREAK & ENJOY LUNCH!
25. If we’re at a full hook-up site, my husband waits until after he has eaten to set up the sewer hose & hose holder.
Sometimes he even waits until the next day because you have already added the water to the tank – and you never keep your Black Tank OPEN while camping.
Wait until your tanks read 3/4 – full before dumping because you want the water to break down the solids in your tank.
Want All These Steps in a Handy Checklist?
Conclusion
While setting up your campsite may seem overwhelming as a newbie RVer, by using this step-by-step guide, you will quickly develop your own routine in how you like your campsite set up!
Now You’re All Set! Relax & Enjoy Your Camping Trip!
I hope these tips help you get your Campsite Set Up 1-2-3! Happy Camping!
Related Posts You Might Like:
* 13 Top Rules Of Camping – Camping Etiquette You Need To Know
* The Best Tools You’ll Need In Your RV ToolKit
* 5 Easy RV Tips For Beginning RVers
* What’s The Average Cost Per Night At An RV Campground
* The Best RV Departure Checklist For New RVers
* The Best Kitchen And Pantry Must-Haves For Your RV
Please Join my Email List!
Want More RV Camping Checklists?
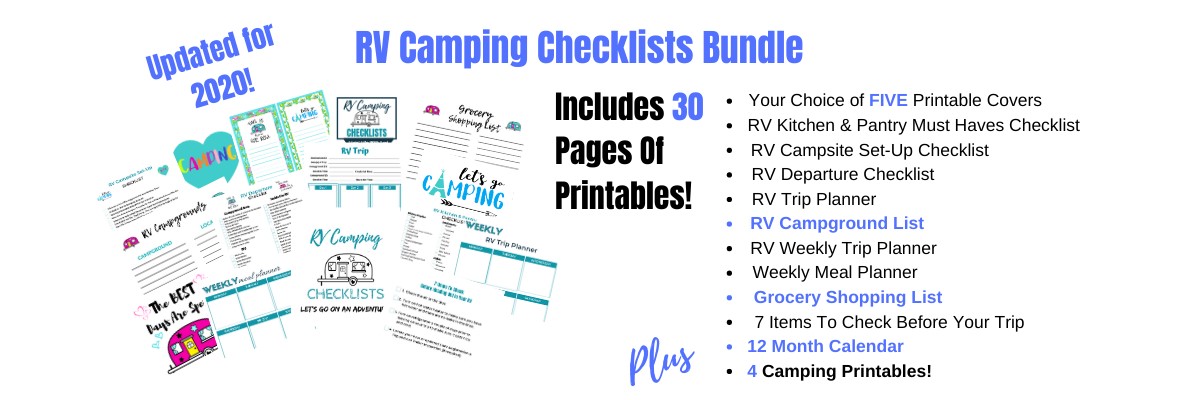
If you’re looking for even MORE help organizing your RV Camping Trips, I have put ALL of my checklists together and created an entire RV Camping Checklist Bundle!
Learn More About the RV Camping Checklists Bundle
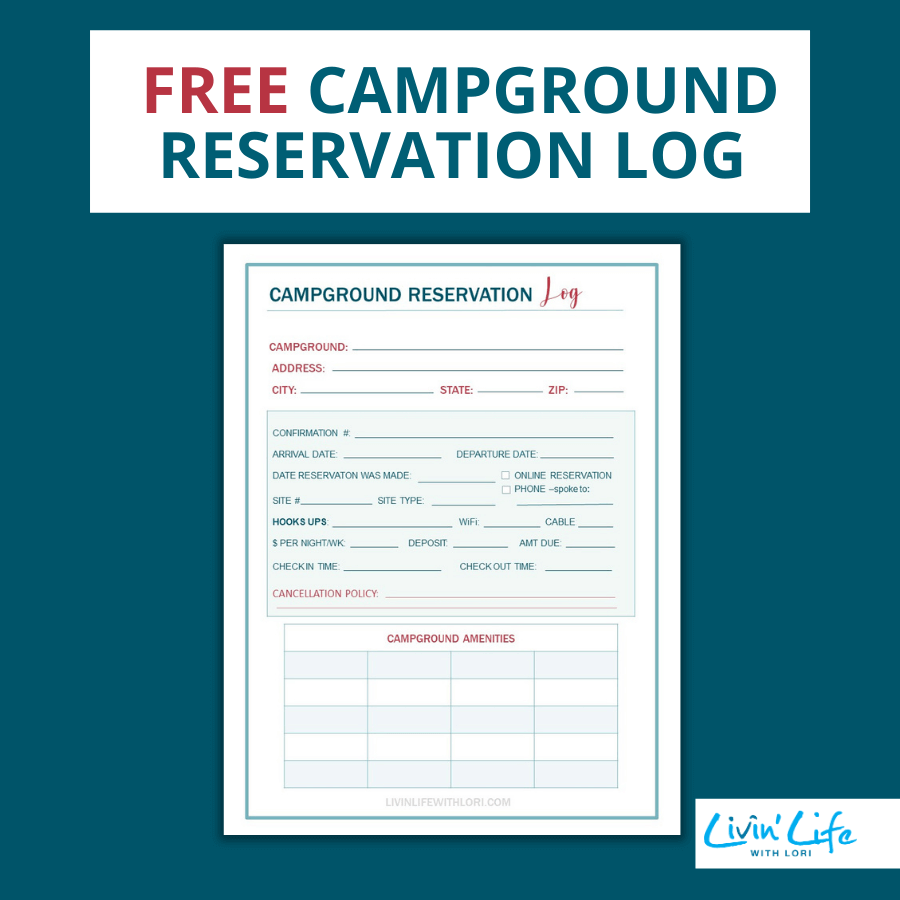
Want to keep ALL your Campground Reservation Confirmations Organized? Download your FREE Campground Reservation Log!
Get Organized With Your Reservations! FREE Download!




10 comments
Love all your tips, but please reverse #9 and #10. You should always chock wheels before unhitching a camper.
Hi Rhonda! Sorry for the delay in replying…we were upstate NY with no internet connection! It was good for the kids though…we played a lot of corn hole and had fun making popcorn over the fire!
Yes – you absolutely should chock the wheels before unhitching – especially if your site is not level! Most of the time we do unhitch first while my son chocks the wheels so in my mind that’s the steps we take which is why I wrote it that way.
THANK YOU for catching this and will make that clearer in the post.
Happy Camping and Safe Travels!
One comment on #21, the black water holding tank. You should always use a toilet (deodorizing) packet. They are not only used for deodorizing, they also contain chemicals or enzymes that help break down the waste so that your tank drains properly.
I suggest always checking the power first, before even parking your rig. Power poles can be damaged or worn out. It’s a good idea to check the electrical connection first. Turn the breakers off, plug in your surge protector, and turn the power on again. If everything looks good, then pull in and set up.
Great tip! We just assume the electrical connection is fine at the campground. I hope new RVers make the investment in a good surge protector – it’s a definite must-have. Thanks for writing in!
What kind/brand of grill do you use? Thanks.
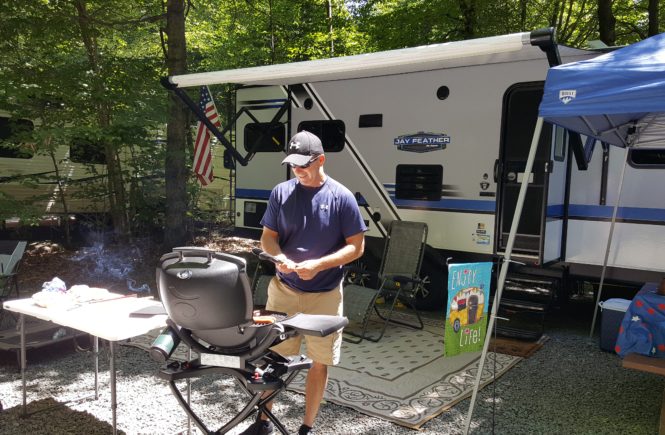
Hi Jane! We use two grills when we go camping. The WeberQ and the blackstone griddle. The Blackstone griddle now has an accessory for a grill attachment too but we still just use it for the flat top. We are very happy with both! Happy Camping!
We just purchased an East to West Silver Lake Camper which we intend to use on my sons land in Warroad Minnesota by Lake of the Woods. Will be using it more as a cabin at this point but hopefully travel more in the future. This is great information for future reference. Lots of helpful hints. Thank you for sharing everybody!
Hi Rebecca! Congratulations on your new camper! Even if you use your new camper as a “weekend getaway” or an extended visit, you will love it I’m sure! Thanks for stopping by and Happy Camping!
Like your check list. Couple of things come to mind. when hooking up and unhitching.
1. When hooking up the water line. Attach the hose to the faucet first then turn on the water. Blows air out of the hose before attaching to the RV. Saves giving the person in the RV a bath when opening the tap in the RV.
2. Last and first. For Travel Trailers and Fifth Wheels. When hooking up to towing vehicle, Last thing to plug in is the vehicle power supply. When disconnecting from Toweling vehicle. The first is to disconnect
the power supply from the toweling vehicle. It saves money when having to have the power cord reattached to the trailer.