
Last Updated on April 14, 2021 by Lori
Before hitting the road in your RV, there are a few things you need to check before you “head on down the highway!” Each year we think we’ve remembered everything and it will be smooth sailing when we head out for the season – BUT, it never happens. When it’s time to hitch up and pull away, we always realize there were a few “must do’s” that we forgot “to do”!
What are the most important RV items to check before you leave on your RV camping trip? Here’s a checklist of the most important RV Items To Check Before Heading Out To Your Campground!
Important RV Items To Check Before Every Camping Trip
If you’re like us and aren’t a full-time RVer, your RV or travel trailer sits in your driveway or in storage until April or May when the campgrounds begin to open for the season!
We sit and looked at our trailer all winter long talking about all the places we wanted to visit this summer.
Yep – it’s usually a long winter…
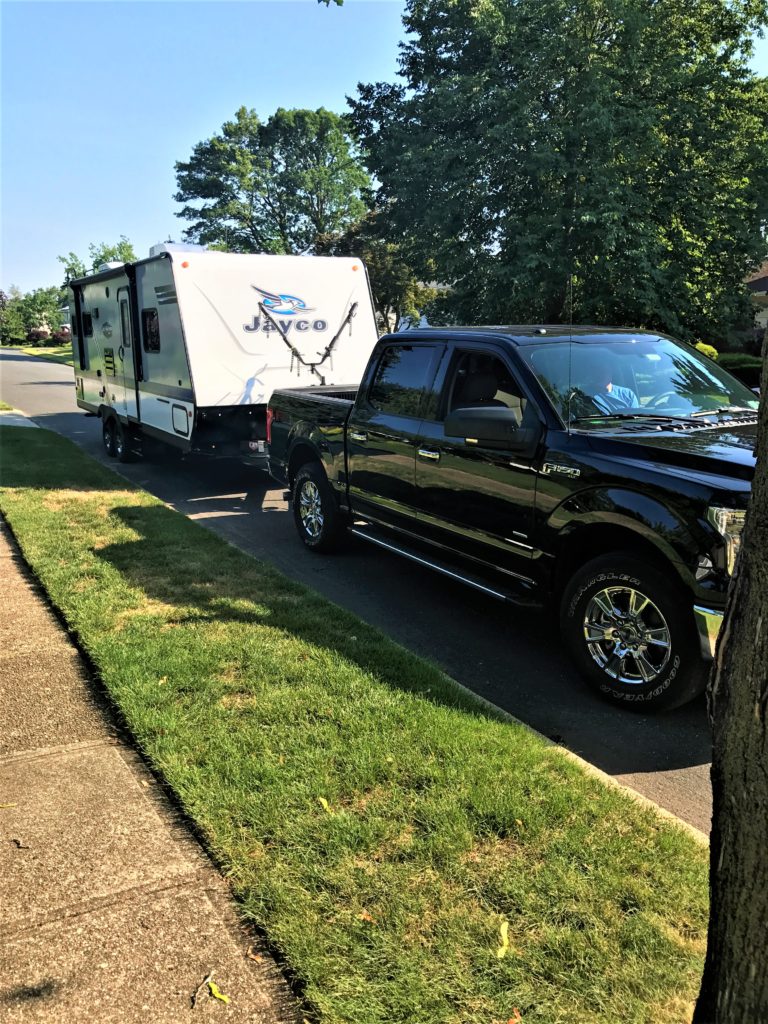
Then the day arrives and it’s time to hitch up and go!
Two weeks prior, we begin making our “checklist” of things to take care of before it’s time to hit the road.
You guessed it – we somehow always forget a few things!
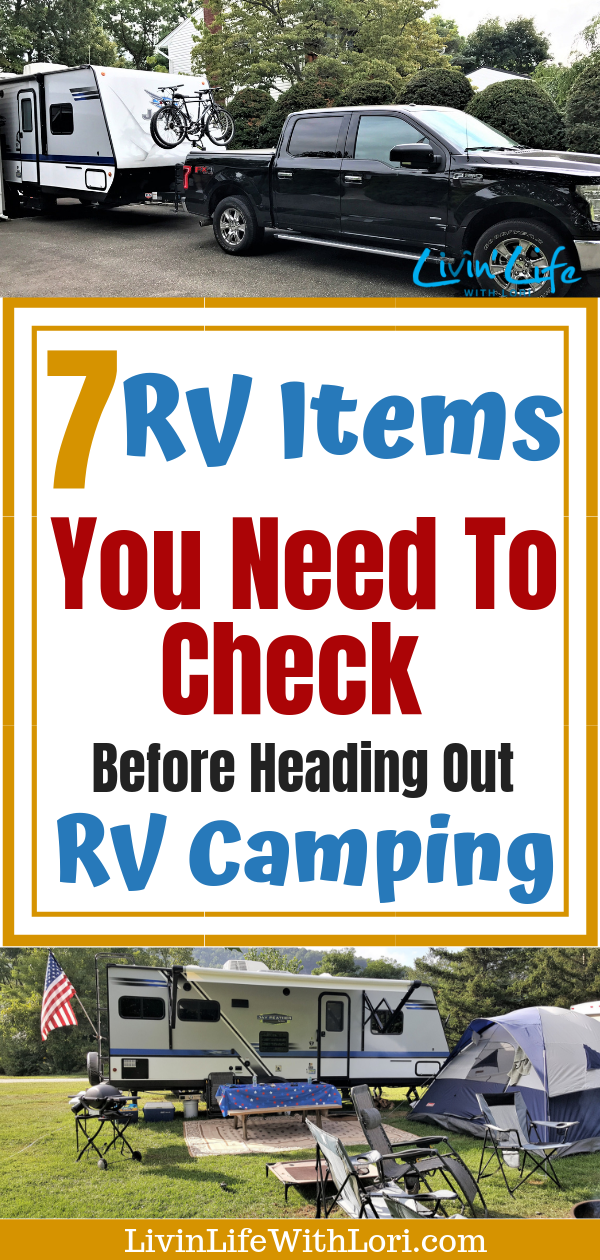
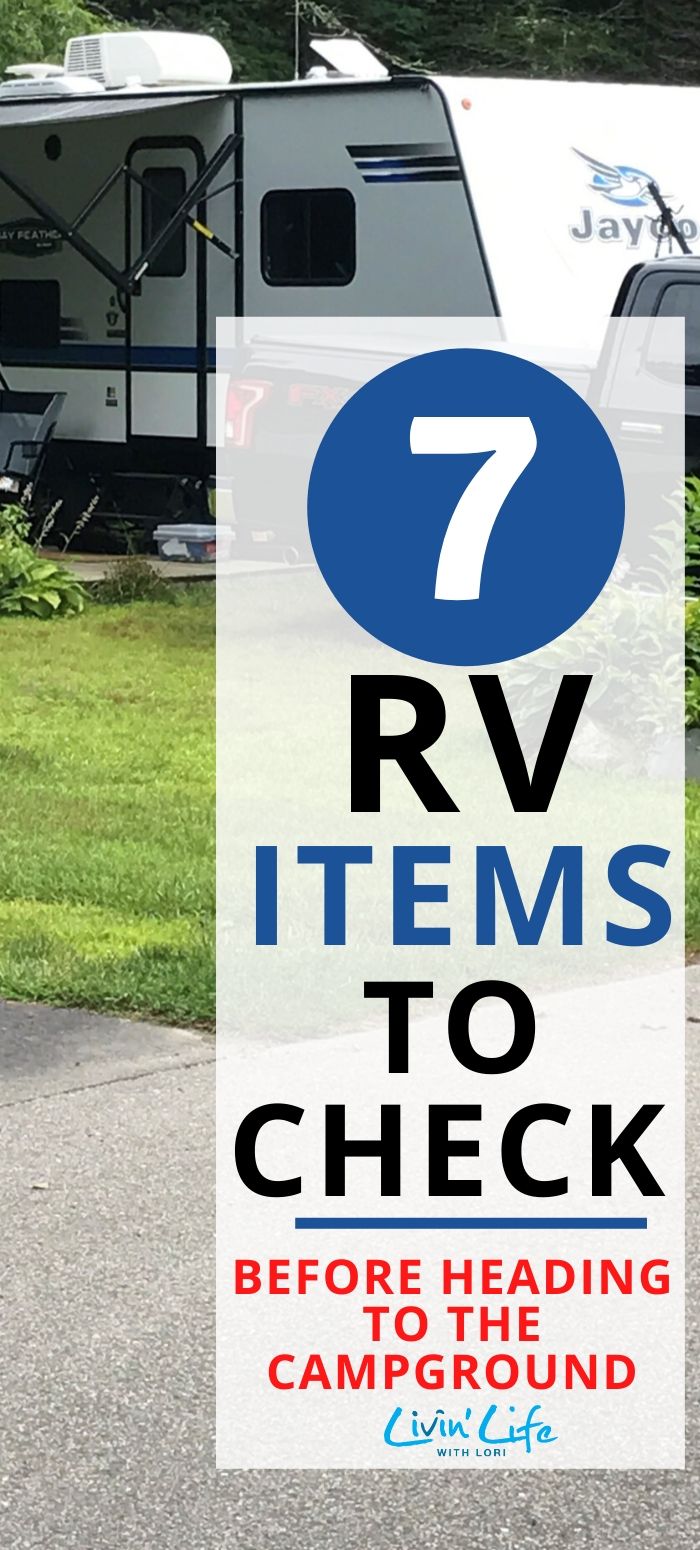
So Here’s My List of the 7 RV Items You Need To Check Before Heading Out To Your Campground!
(You can download the checklist below!)
This post contains some affiliate links for your convenience (which means if you make a purchase after clicking a link I will earn a small commission which helps keep my blog up and running but it won’t cost you a penny more)! Please read my Disclosure Policy for more information.
RV Checklist Before You Head To The Campground
1. Check the air in the tires and inspect each tire for cracks and wear.
Also – don’t forget to check the air in your truck tires too.
2. Turn on the hot water heater & check for leaks.
3. Turn on your refrigerator 2-3 days prior to leaving on your trip.
When we went on our walk-thru, the owner of the company suggested we do this.
For us, this method works great. We don’t travel with our refrigerator on, so we turn on the fridge a few days before we leave and I pat out hamburger patties, wrap them in tin foil and put them in the house freezer.
I do this with chicken cutlets and steak also.
Don’t forget to label each! How many times have I reached into the freezer and said, “Now, is this a hamburger or chicken breast?”

When we are loading the last of the perishable food, I take zip lock bags filled with ice and put them into the trailer freezer.
Then I take the meat from the house freezer and put it into the trailer freezer and shut the door!
Before we pull out, we turn the refrigerator off.
Depending on how long the trip is, I’ve also been known to add a bag of ice to the refrigerator as well.
When we get to the campground one of the first things we do is turn on the refrigerator.
Hopefully, I remember to take out the meat we plan to eat that night so it will have enough time to defrost!
Keep Track Of All Your Campground Reservations!
Download Your FREE
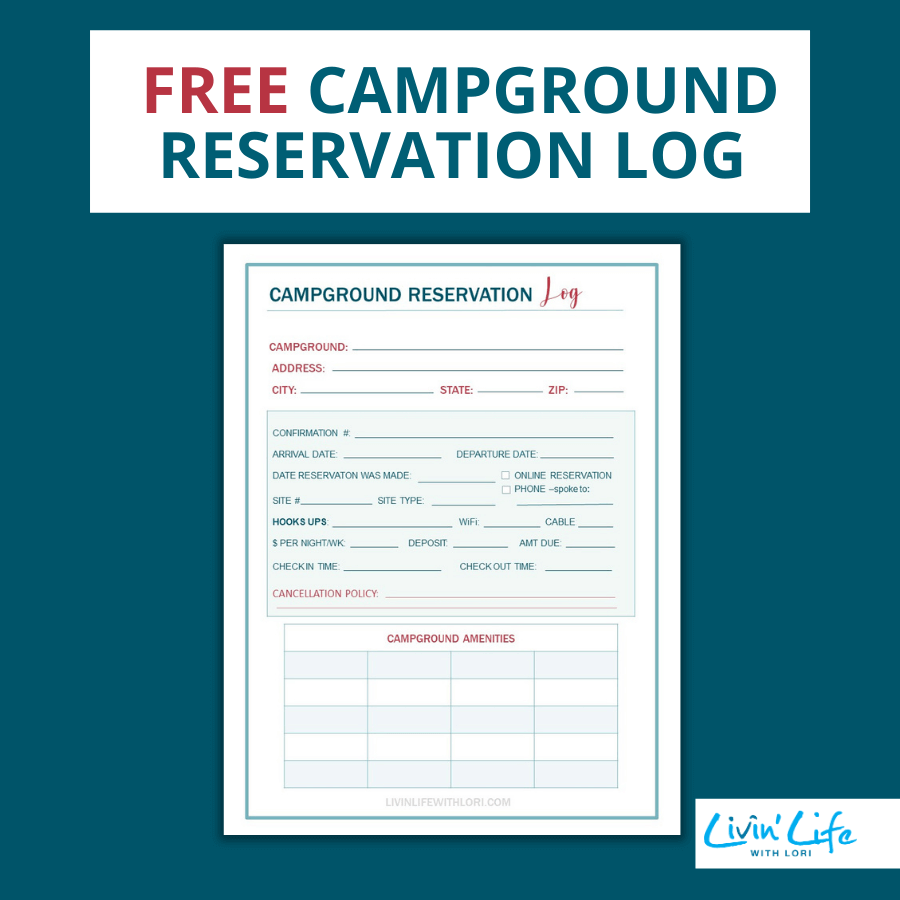
Yes! I Want It!
4. Locate your New or Updated DMV Registration & Tags. Get Trailer Inspected (if required).
Check to make sure you have the new registration for the trailer in the truck and place the new tag on the license plate on the trailer.
I’m not sure how other states work, but in New York, registrations for trailers are on a calendar year.
Our first year of owning our travel trailer, I was watching for the renewal notice in the mail. When it arrived at the end of November, I renewed it right away so I didn’t forget!
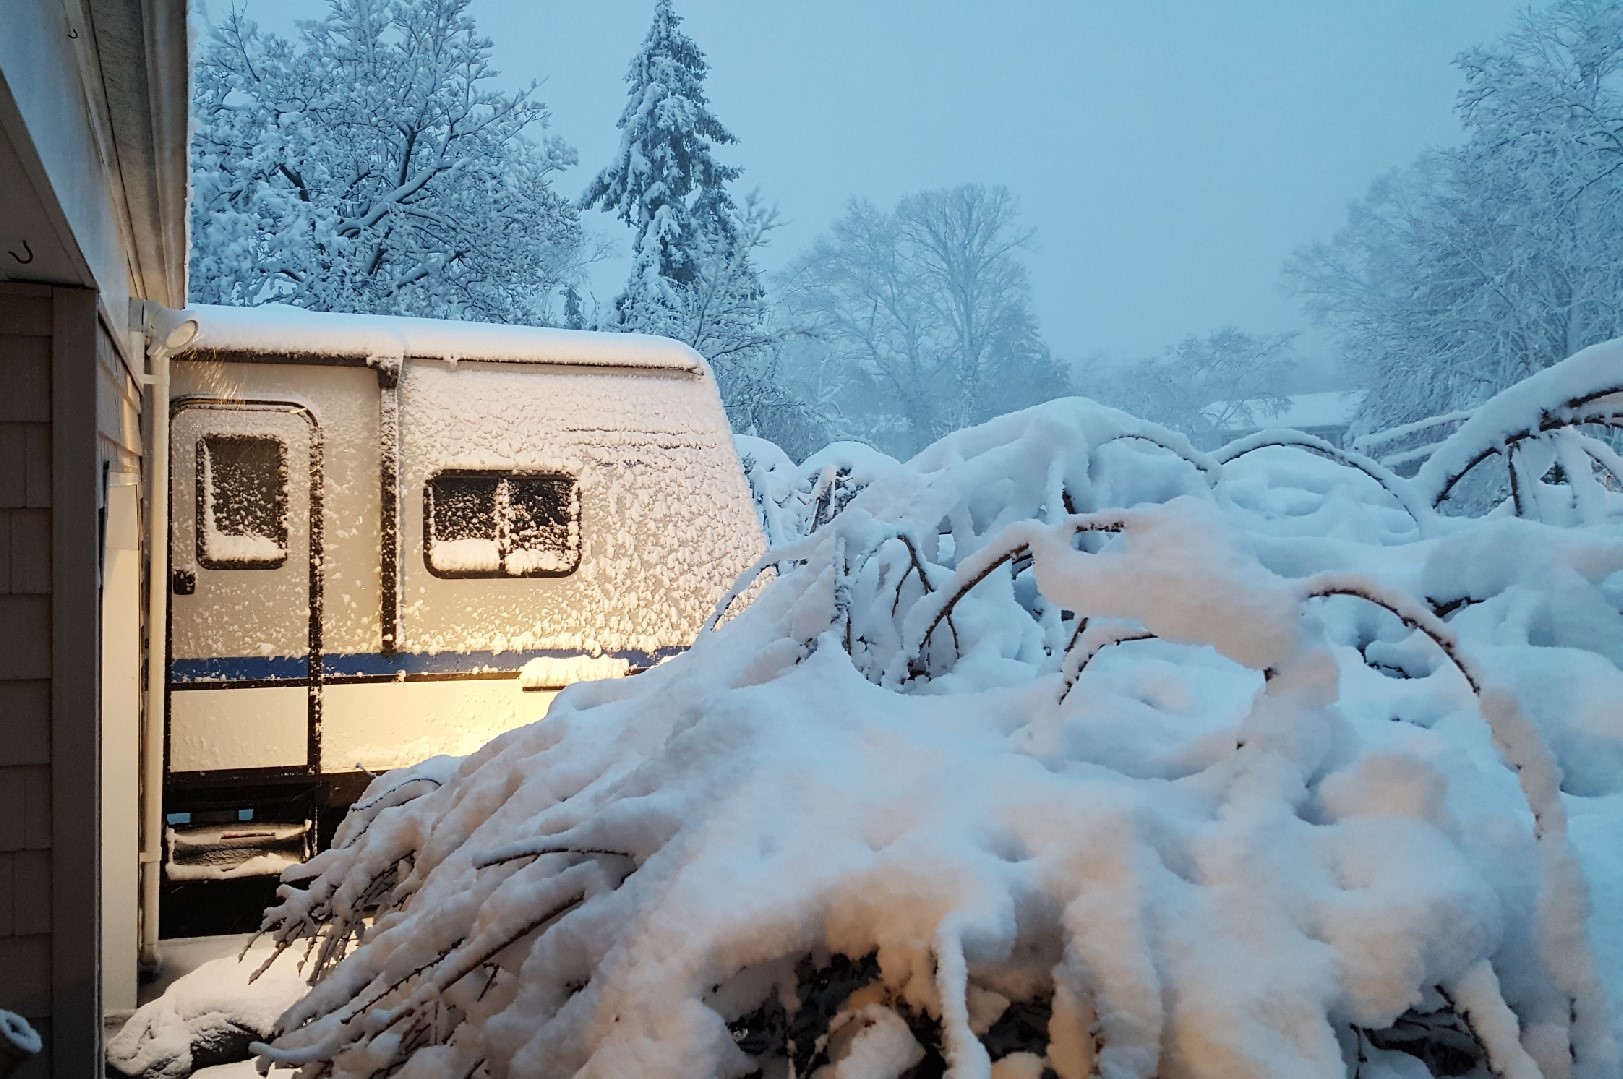
When the new registration and tag sticker came in the mail, we had had about 2 feet of snow on the ground (see photo above). Since I couldn’t put the tag on the license plate, I put the registration in a “safe place” instead of in the truck.
When it came time to head out on our first trip of the season, do you think I could remember where that “safe place” was?
I finally found it, but only after I had downloaded the form from the DMV to mail in with my $2 for my “replacement registration and tag.”
Lesson learned!
Make sure you remember where that “Safe Place” is!
It was very stressful for a few days.
Keep in mind to check your state’s regulations about trailer inspections. In New York, we need to have the trailer inspected yearly.
You Can Download The FREE 7 Item Checklist Below!
5. Check the brake lights, tail lights, turn signals, emergency flashers to make sure they are all working properly.
Before we pulled out of the driveway, we always do our “check.”
My son went to the back of the trailer to relay “Good!” “Good!” “Good!” as my husband pushed on the brake, then turned on the signals…Right…Left…Brake…Yes – all Good!
When we pulled out of the driveway and stopped alongside the curb to put the other cars back in the driveway, a truck came up next to us and said, “Your left tail light isn’t working.”
What?
We just checked that!
“OK”, my husband said, “Thanks for letting us know.”
We drove around the corner and checked them again.
All good. WHEW!
While we were driving on the Interstate, the indicator light in the truck came on, “Left turn signal fault. Check Lamps.”
Oh no…not on one of the busiest New York highways!
How would anyone see that we wanted to merge or change lanes?
Plus, trucks and trailers are only allowed in the middle lane over the bridges which meant we had to merge.
We jokingly went over what we had learned in grade school about bicycle hand signals.
Do you know that kids today don’t even know them?
Well…let me be clear…my SON knew them from a TV show named “Drake & Josh.”
They aren’t taught how to use hand signals when riding a bicycle anymore. I still remember the leaflet we colored!
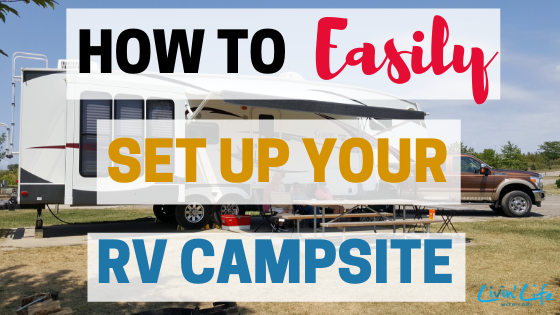
Related Reading: You might enjoy reading How To Easily Set Up Your RV Campsite
Anyway, after we finally agreed on the correct hand signals, the light went off.
“Is it working?” we asked. We sure hoped they were!
We continued to merge left on highway after highway, then merged into the middle lane of the bridge, merged left around a very slow car, and no one honked so we assumed the light was working.
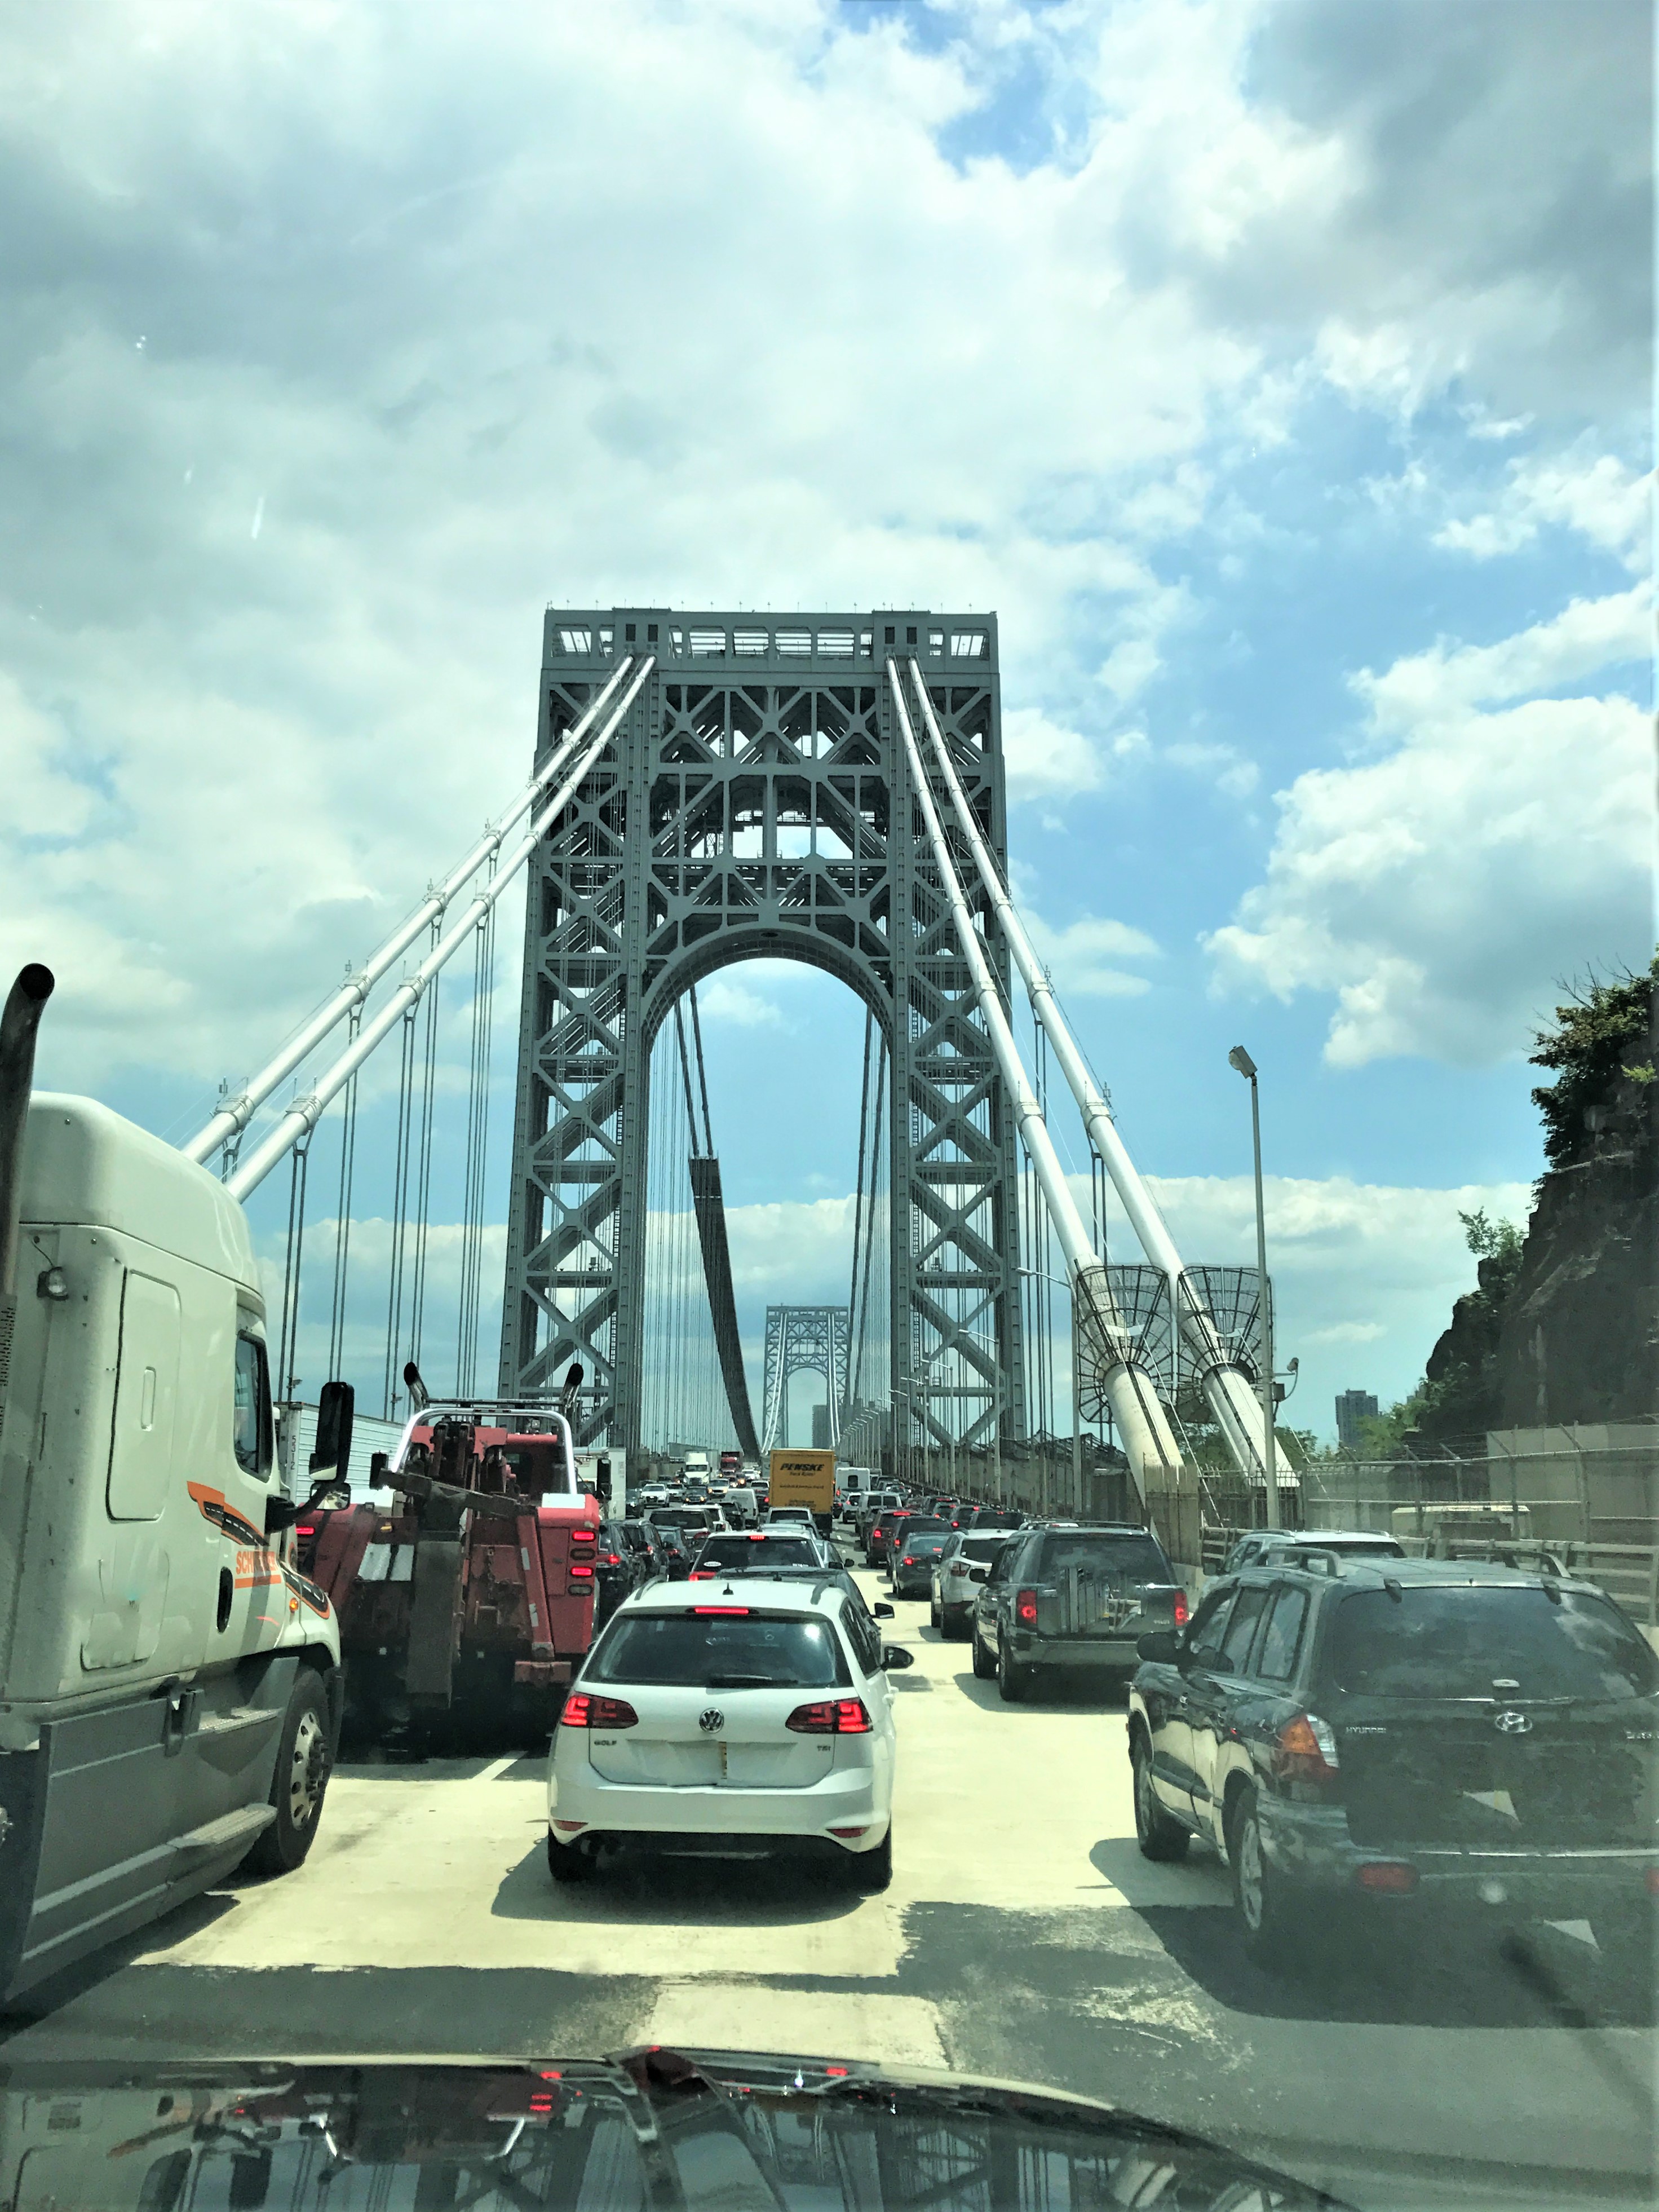
When we left the campground the light was working; but, as we made our way home, the indicator light came on.
We will need to get this fixed before our next trip!
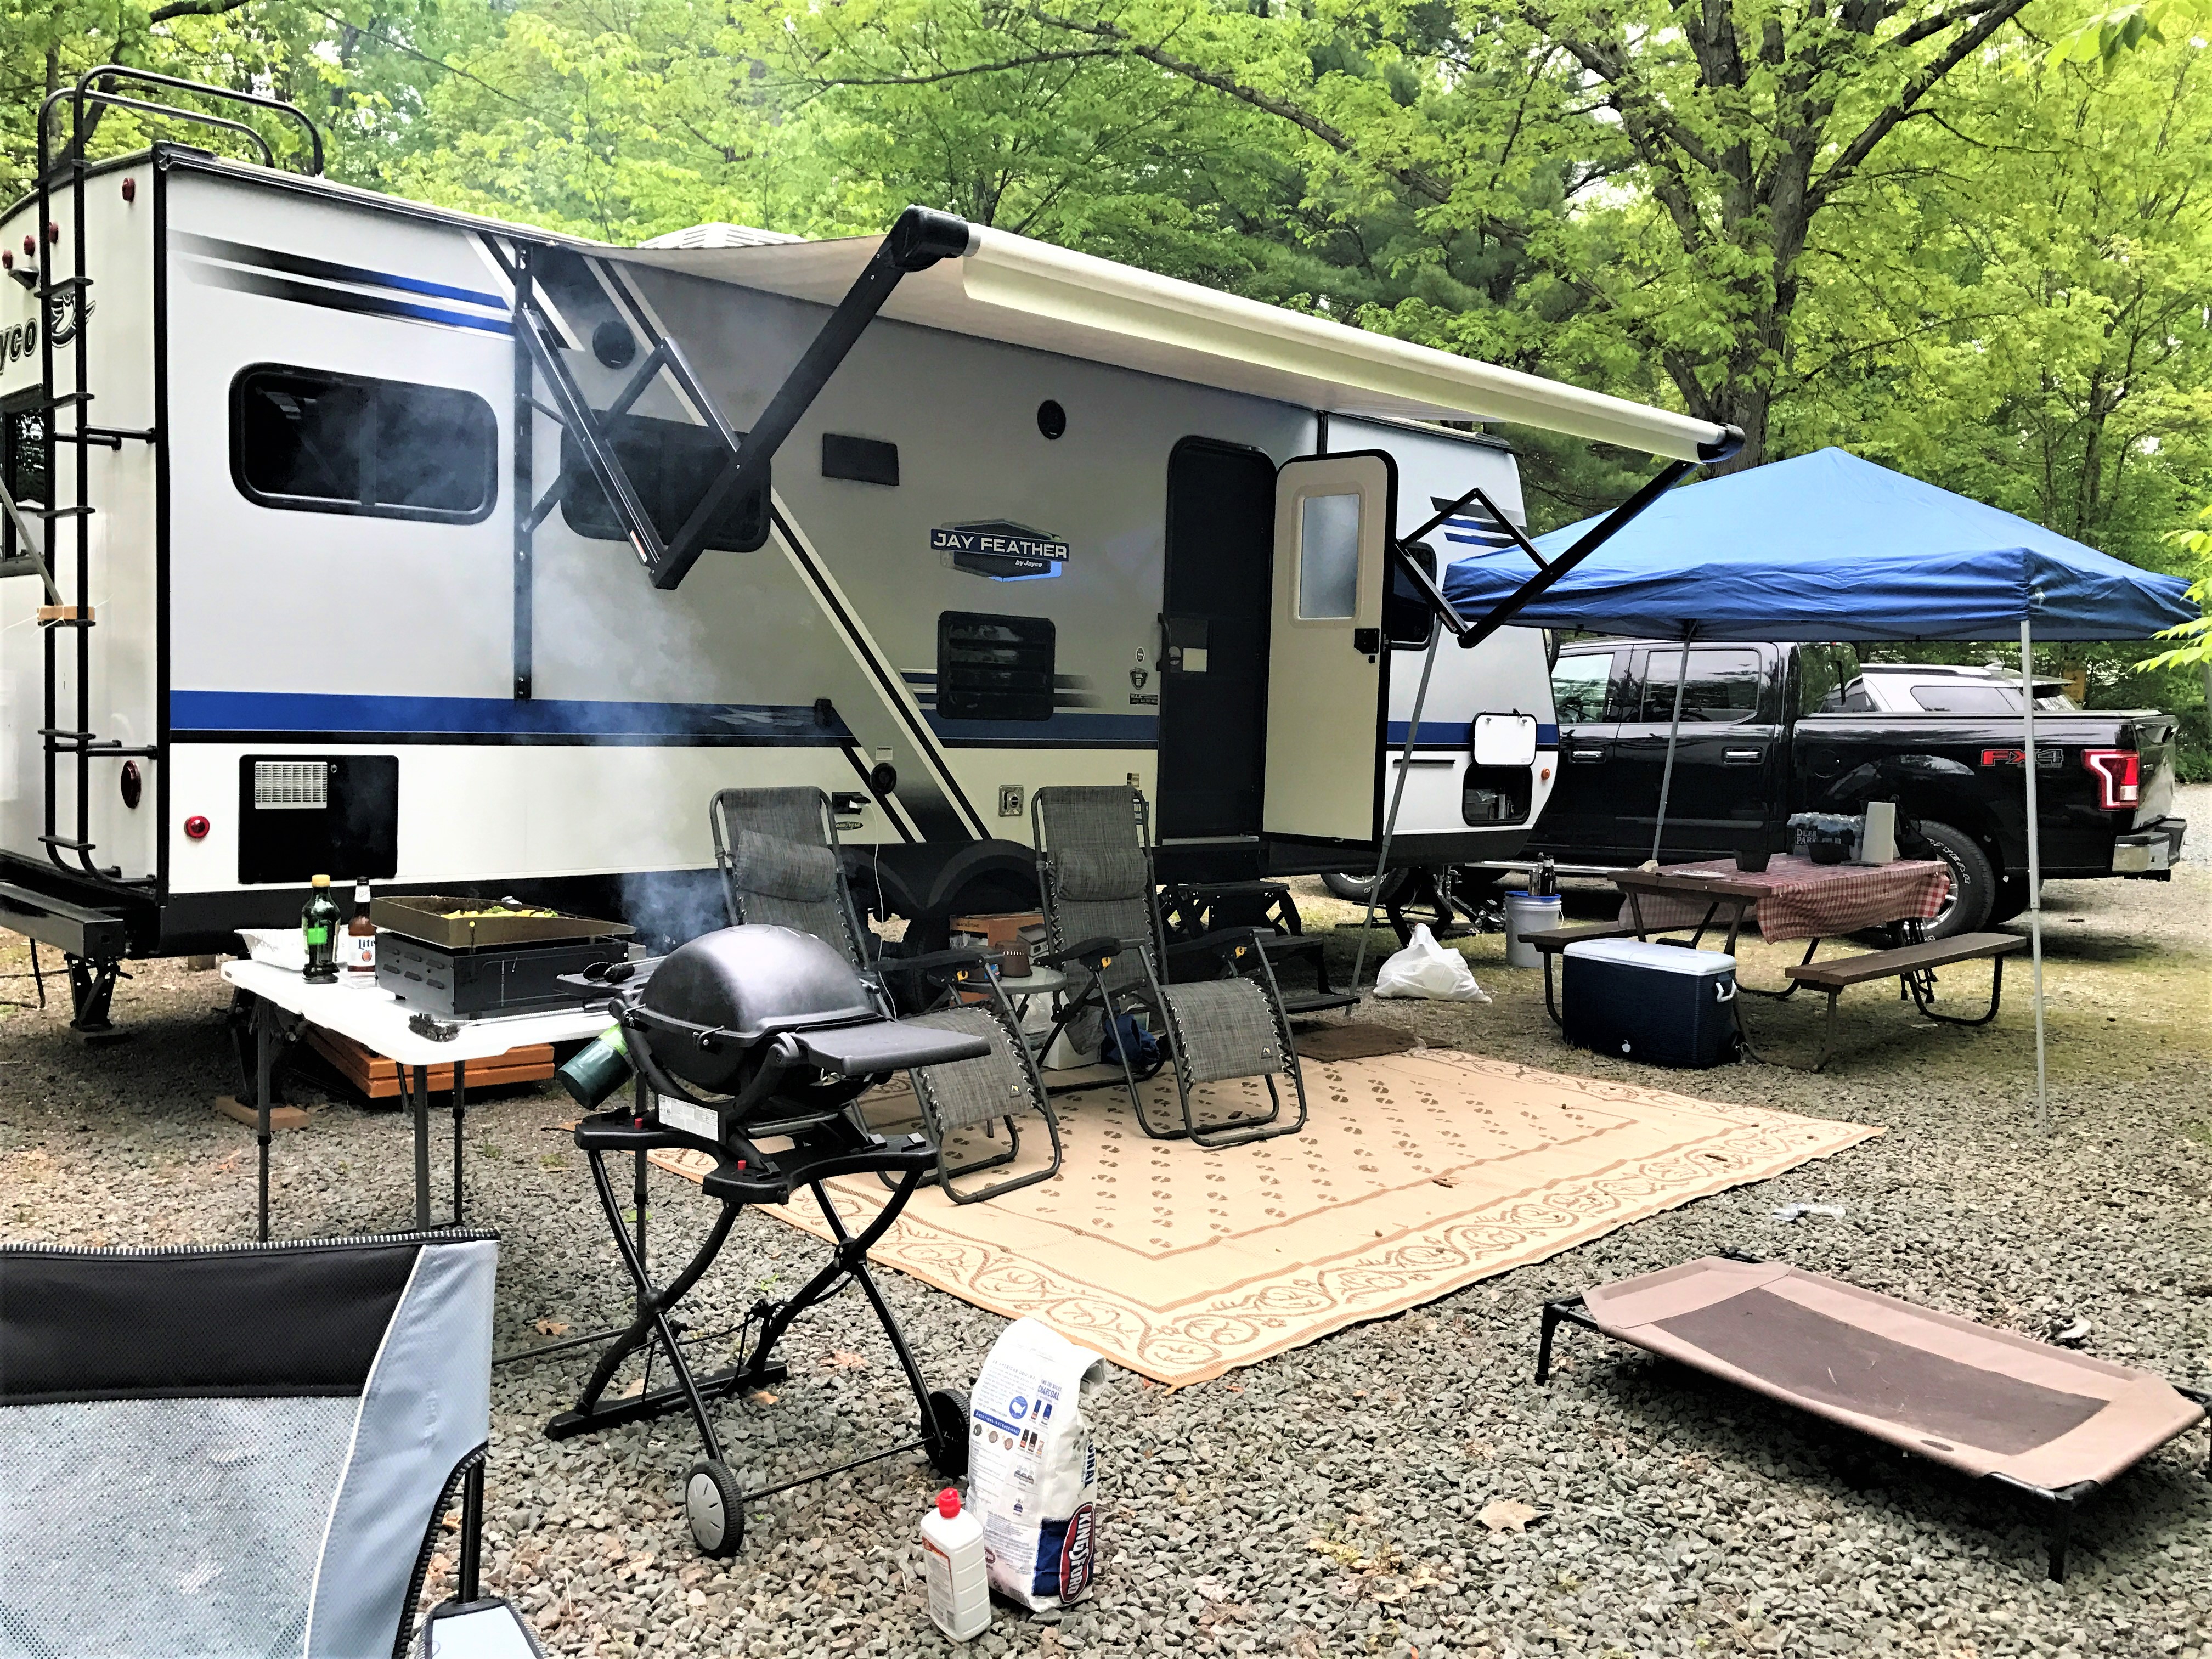
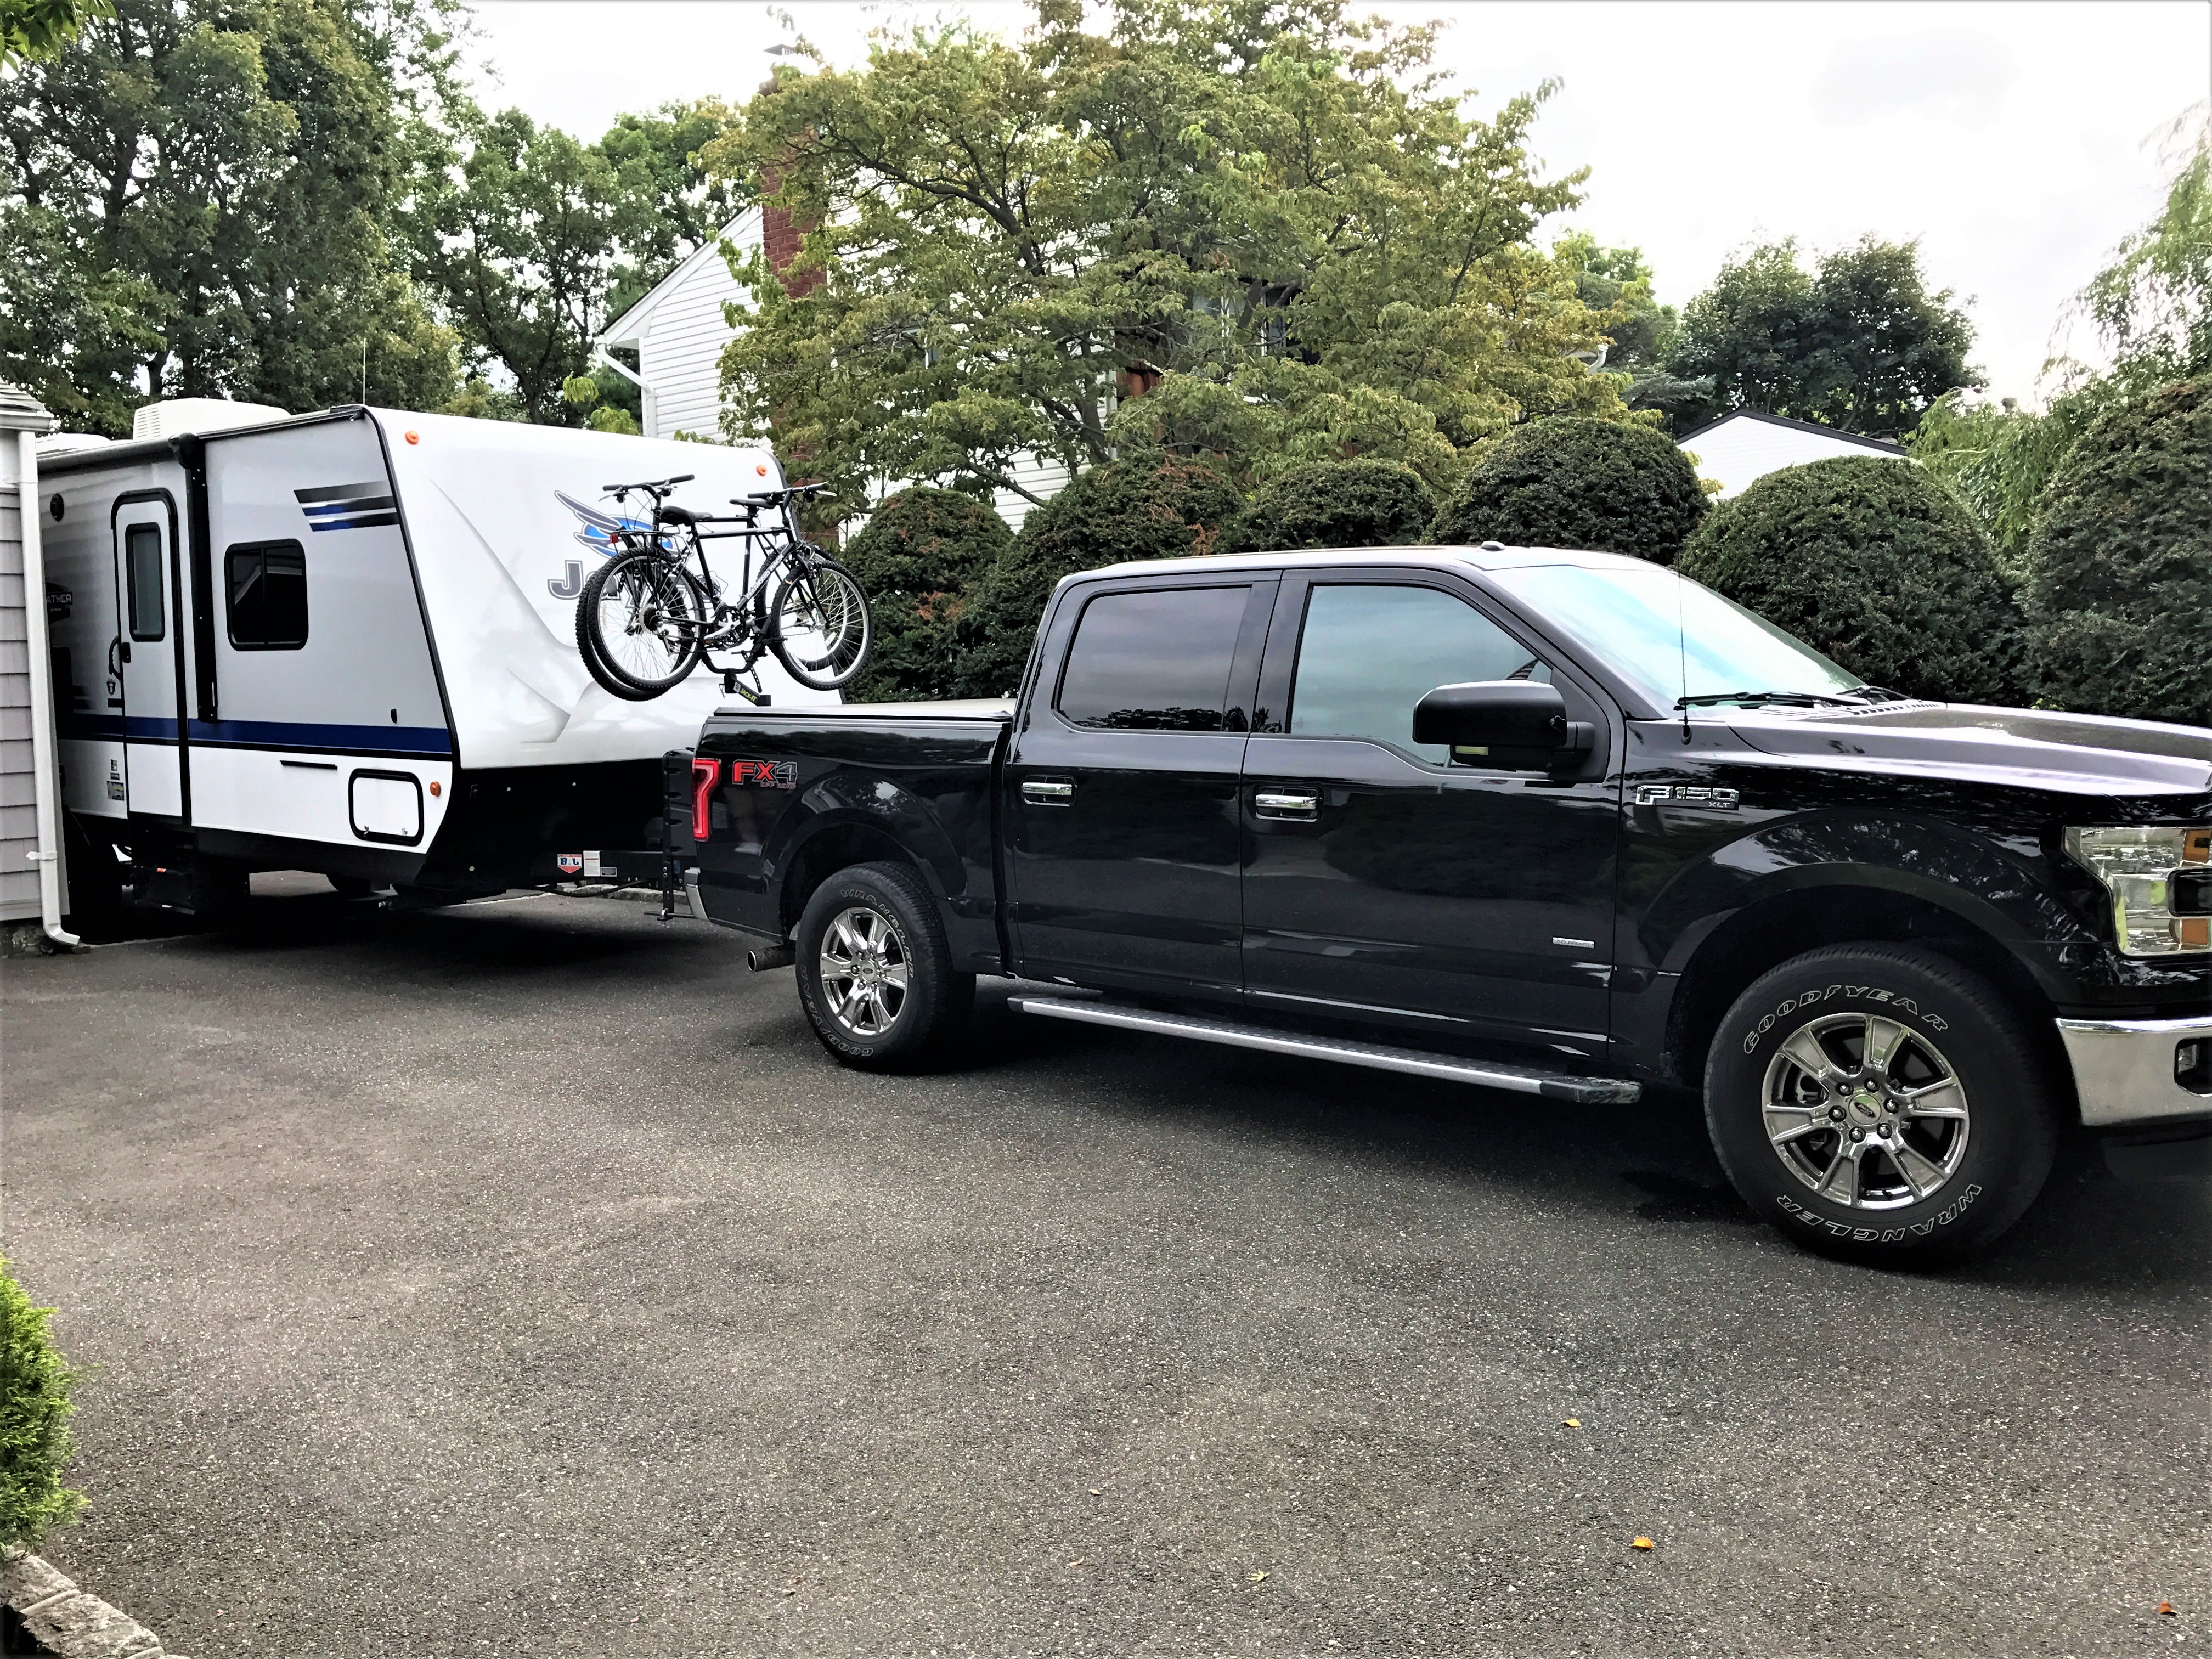
6. Check the automatic jack to make sure it is working – Before loading bicycles!
This is one thing we didn’t check thoroughly before we loaded up for the first trip of the season.
Looking back, my husband should have checked that the jack was working when he hooked up the battery for the first time.
But – he didn’t think about it.
So, on the day we were leaving, we lifted the two bikes on the bike rack and hooked them up securely.
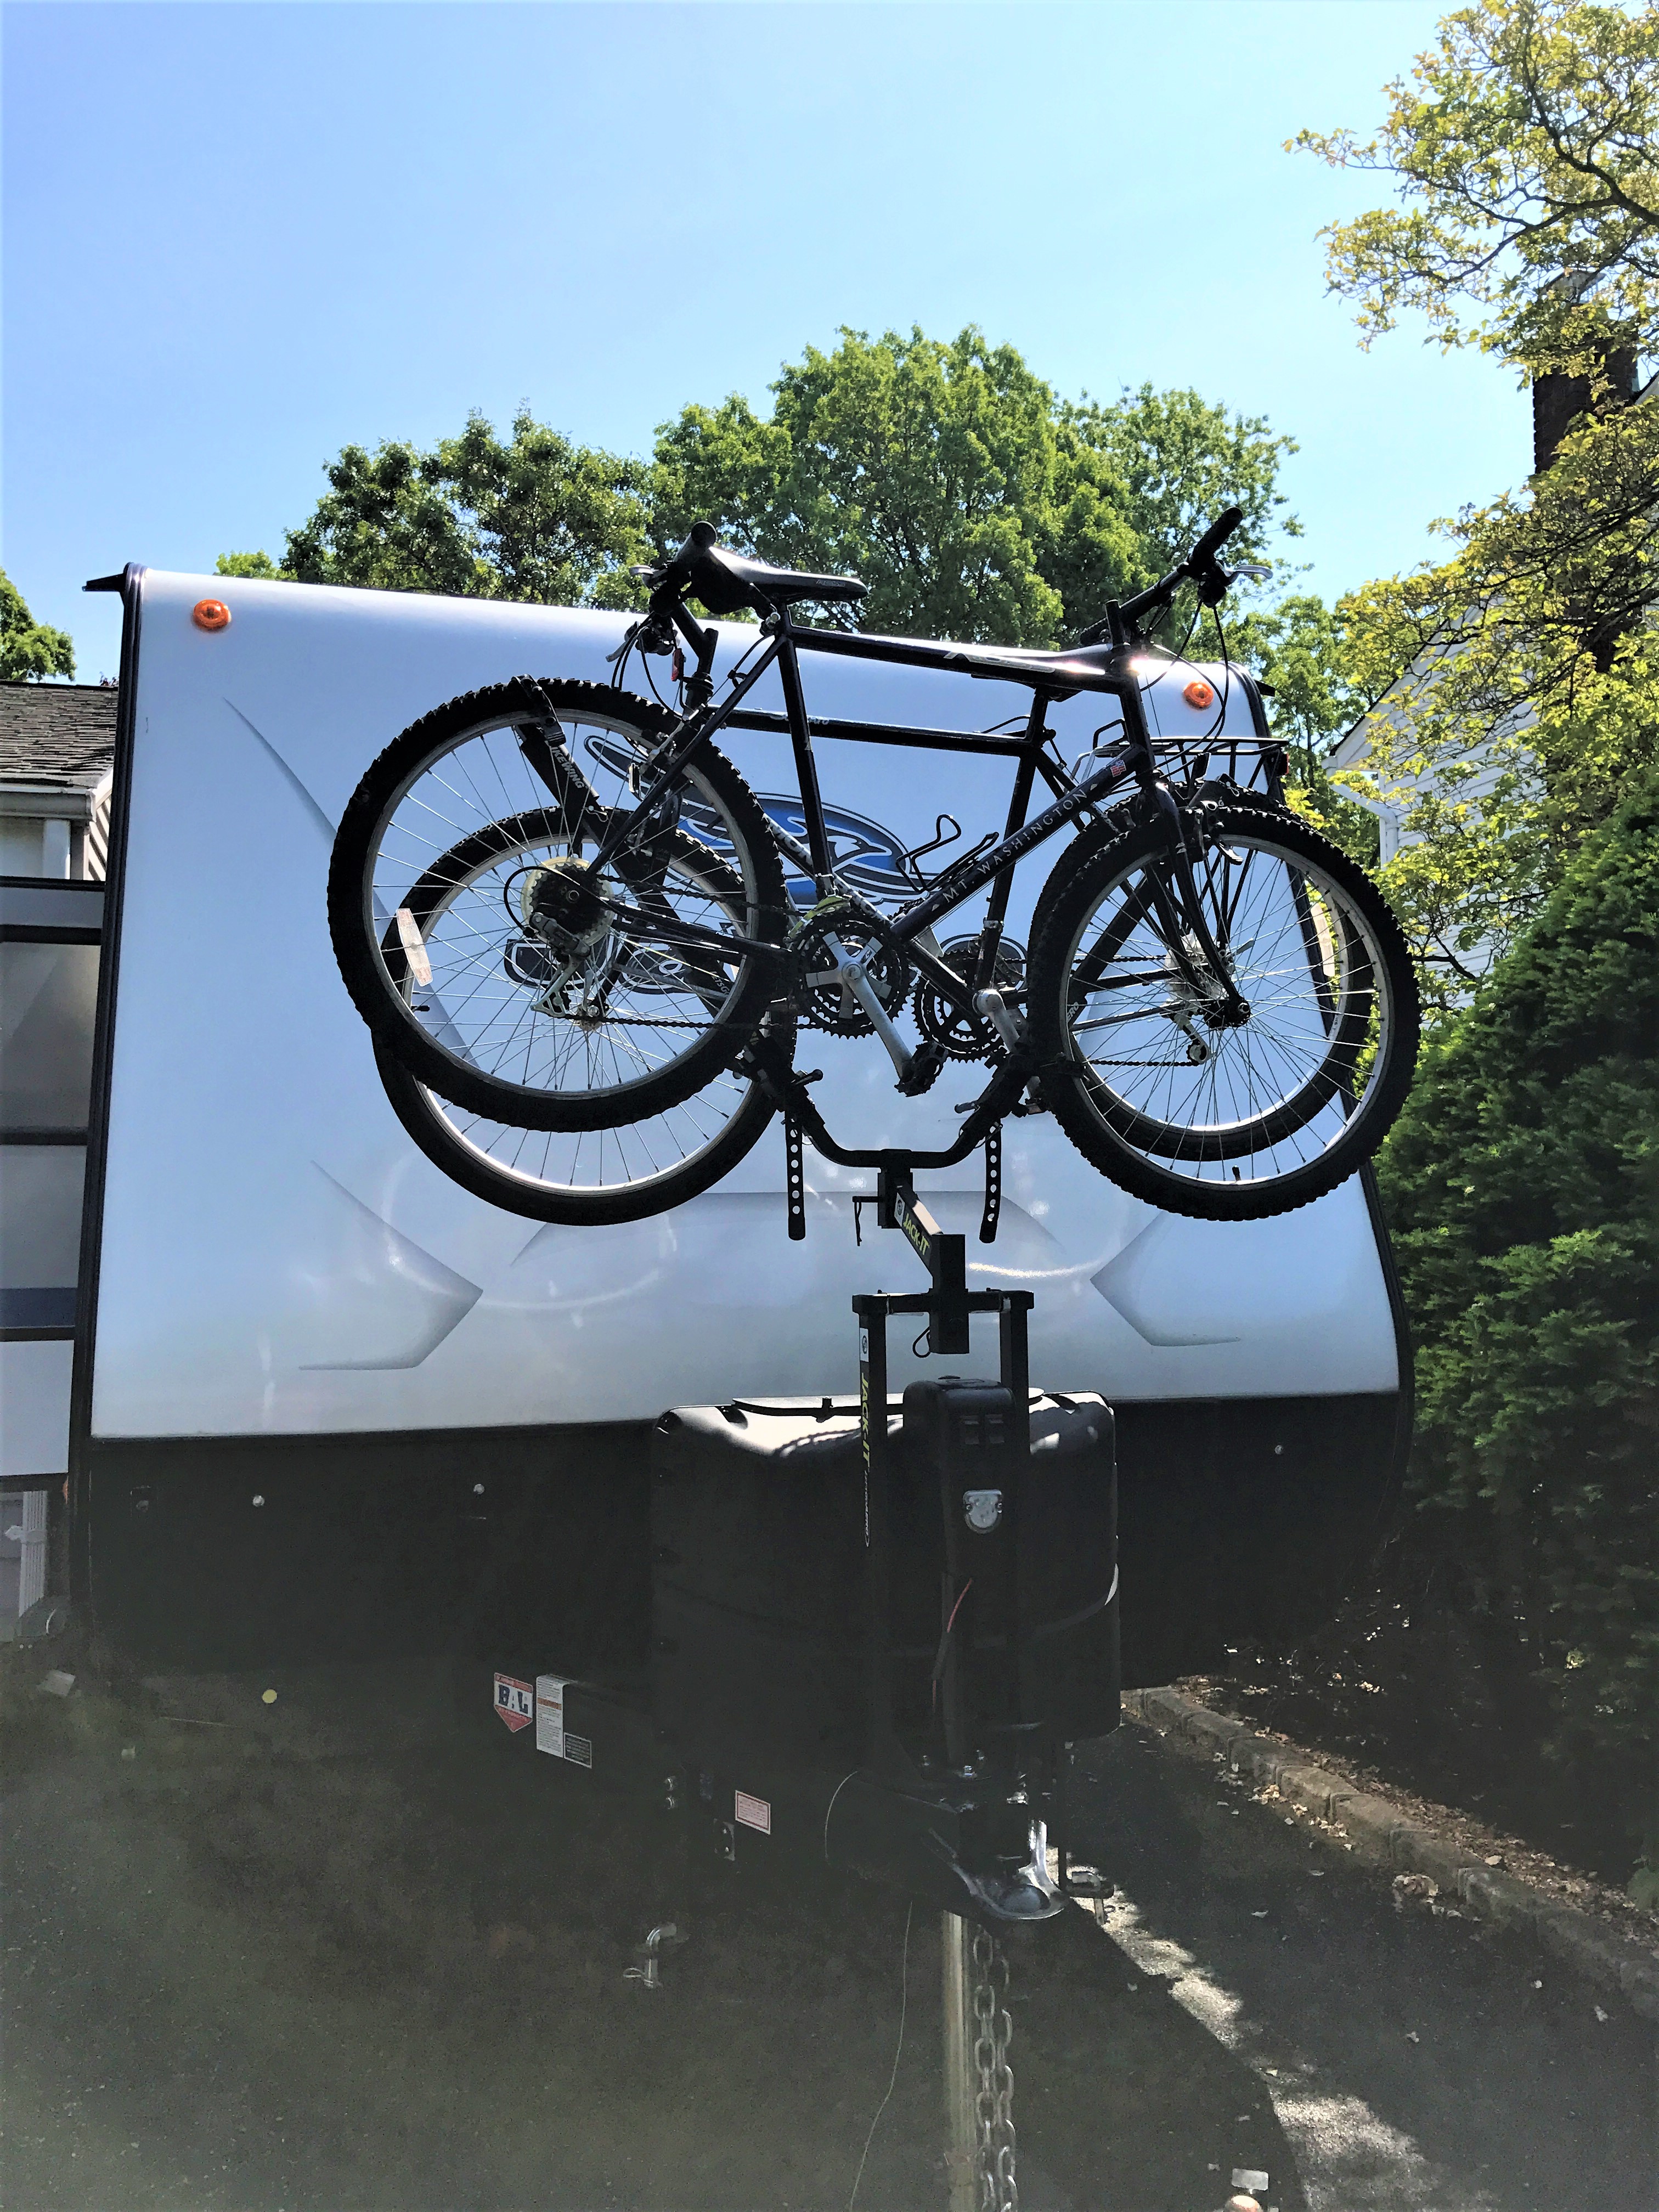
When we were ready to hitch up and hit the button to turn on the jack…nothing.
I mean nothing!
We unplugged from the power source to the house thinking that it might be something there and plugged it into the truck and again – nothing.
We all looked at each other. We were all packed and ready to leave – but we weren’t hitched up.
We took the bikes off the rack and thankfully the manual jack was right in the storage area where we could reach it easily.
We manually lowered the trailer onto the hitch and then hooked the bikes back up!
As my husband was fiddling with the wires, the jacklight indicator turned on. There was a short in the wire. Well, now at least we knew!
But you can bet when we hitched up to leave the campground, we made sure the jack worked first, hitched up the trailer and THEN we put the bikes on!
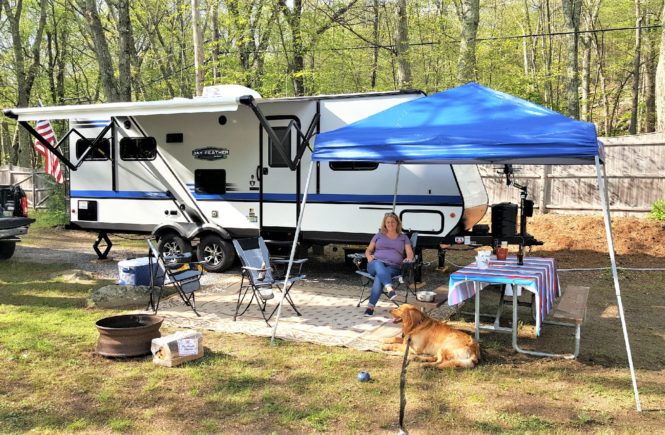
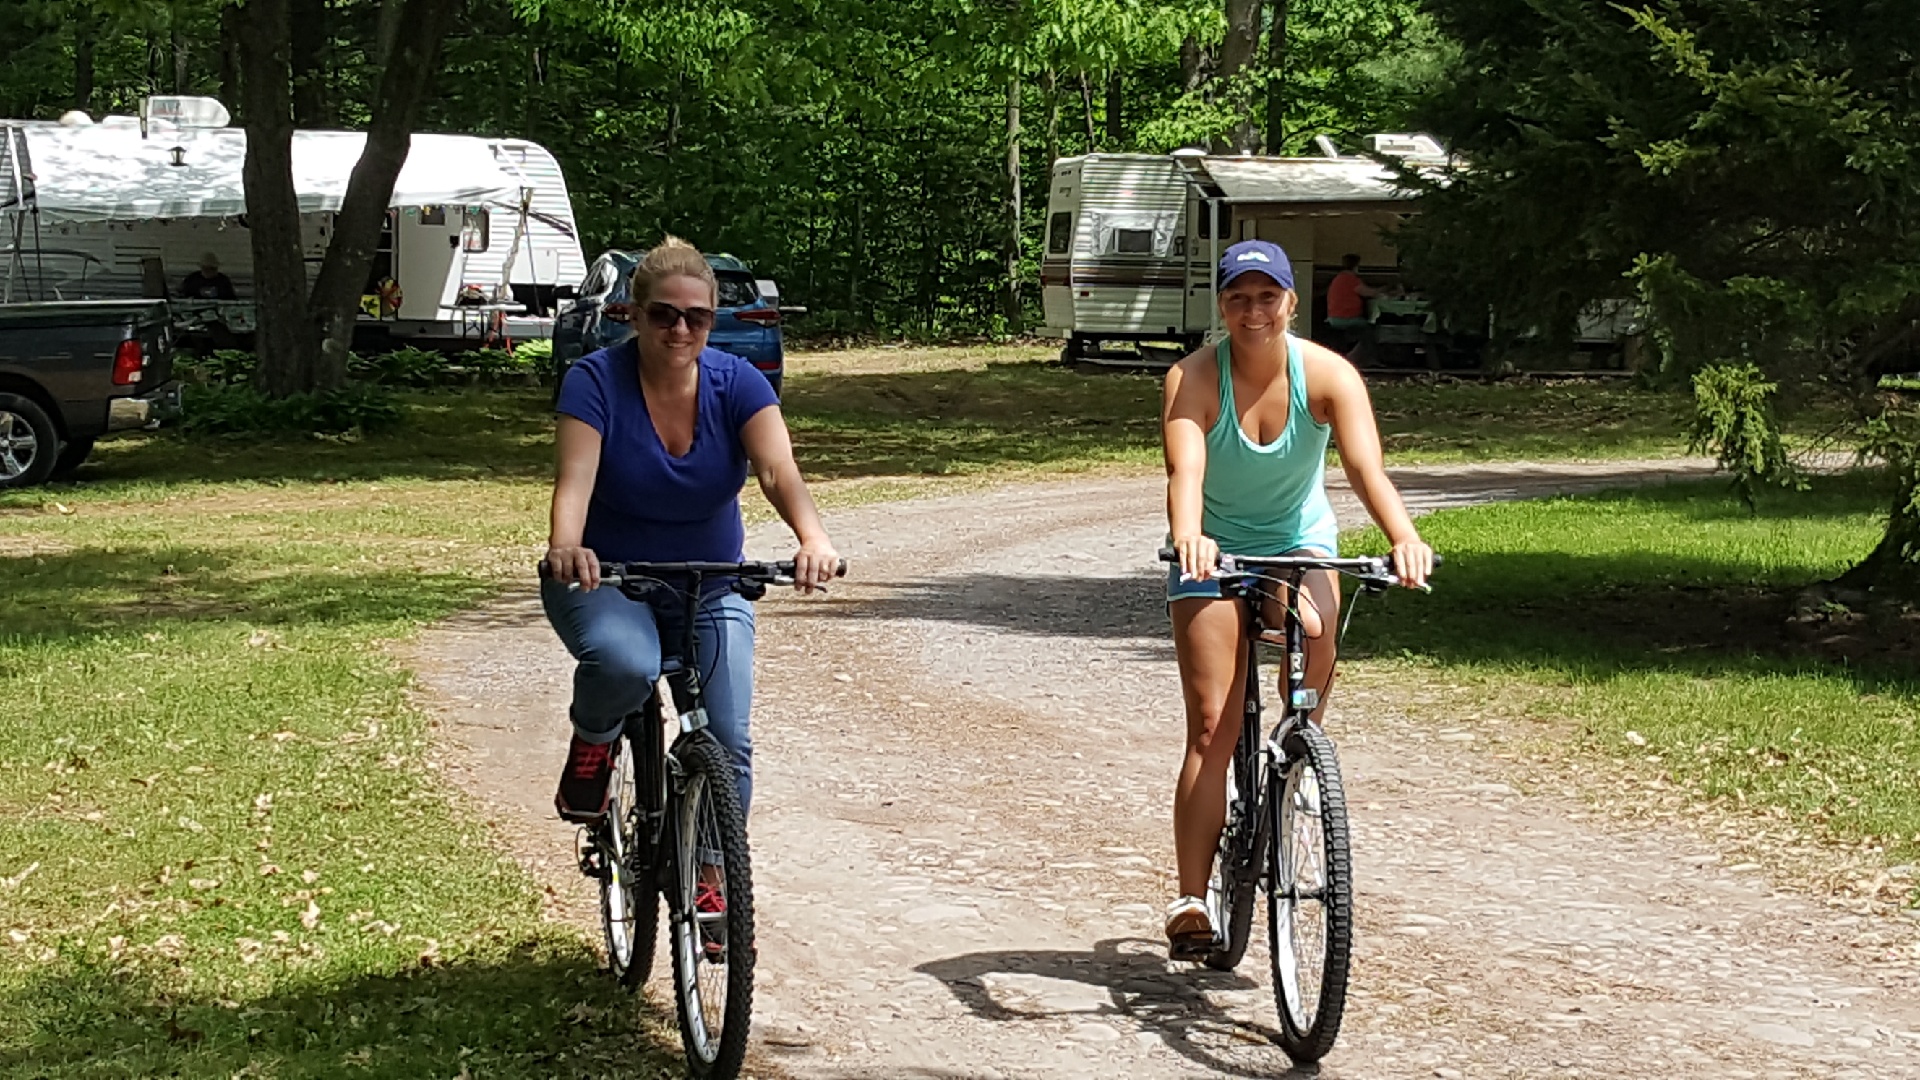
We love to take the bikes along!
7. Antenna Down, Steps Up, Vents Closed & Door Locked.
Yes, I’m sure you’ve seen it.
You’re driving down the highway, and there’s a travel trailer with its door open!
We pulled alongside one family on the road to let them know their door was open.
The man immediately knew what my husband was saying and quickly merged to the side of the road.
We’ve been guilty of leaving the antenna up and the bathroom vent open a few times – it happens.
But if you say this phrase...
“Antenna Down, Steps Up, Vents Closed & Doors Locked!”
It Really Helps!
I hope these 7 RV Items to Check Before Heading Out to your Campground will help You get to your destination safely and without any delays!
Don’t forget to check out my recent blog post – 5 New Favorite Must Haves To Take RV Camping listing this year’s Must-Haves!
You can see it Here!
FREE Checklist of 7 Items To Check Before You Hit The Road In Your RV
Download Your FREE – 7 Items To Check Before You Hit The Road In Your RV Checklist Below!
I would love for you to join my Email List!
You Might Enjoy These Related Articles
* How To Choose The Best RV Campground For Your Family
* Top 13 Rules Of Camping Etiquette-What You Need To Know
* How To Plan A One Day Trip To Niagara Falls New York
* Fun Camping Games To Play At The Campground
* Guide To The Best RV Mattress Replacements
* 15 RV Camping Extras That Will Make You A Happy Camper
Please Pin For Later!