Last Updated on October 1, 2020 by Lori
[social_warfare]
This post contains affiliate links for your convenience. Please read my full disclosure policy for more information.
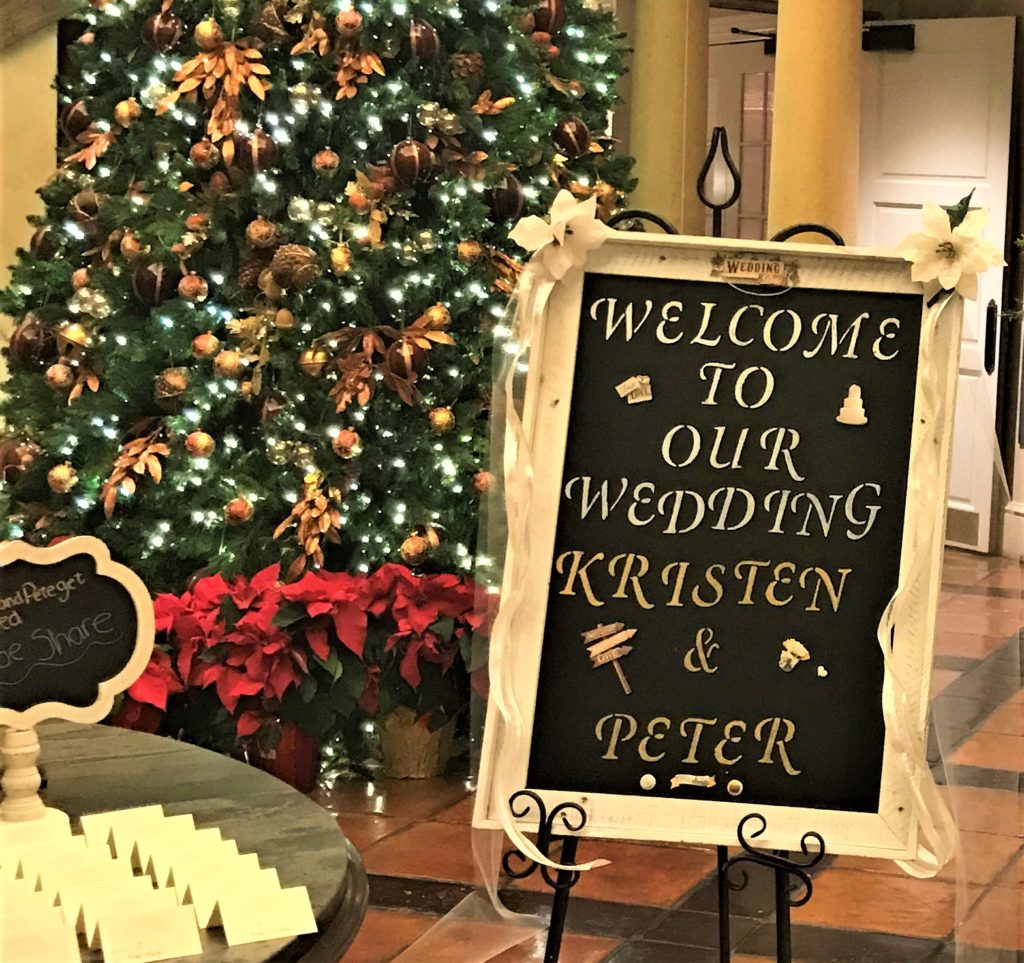
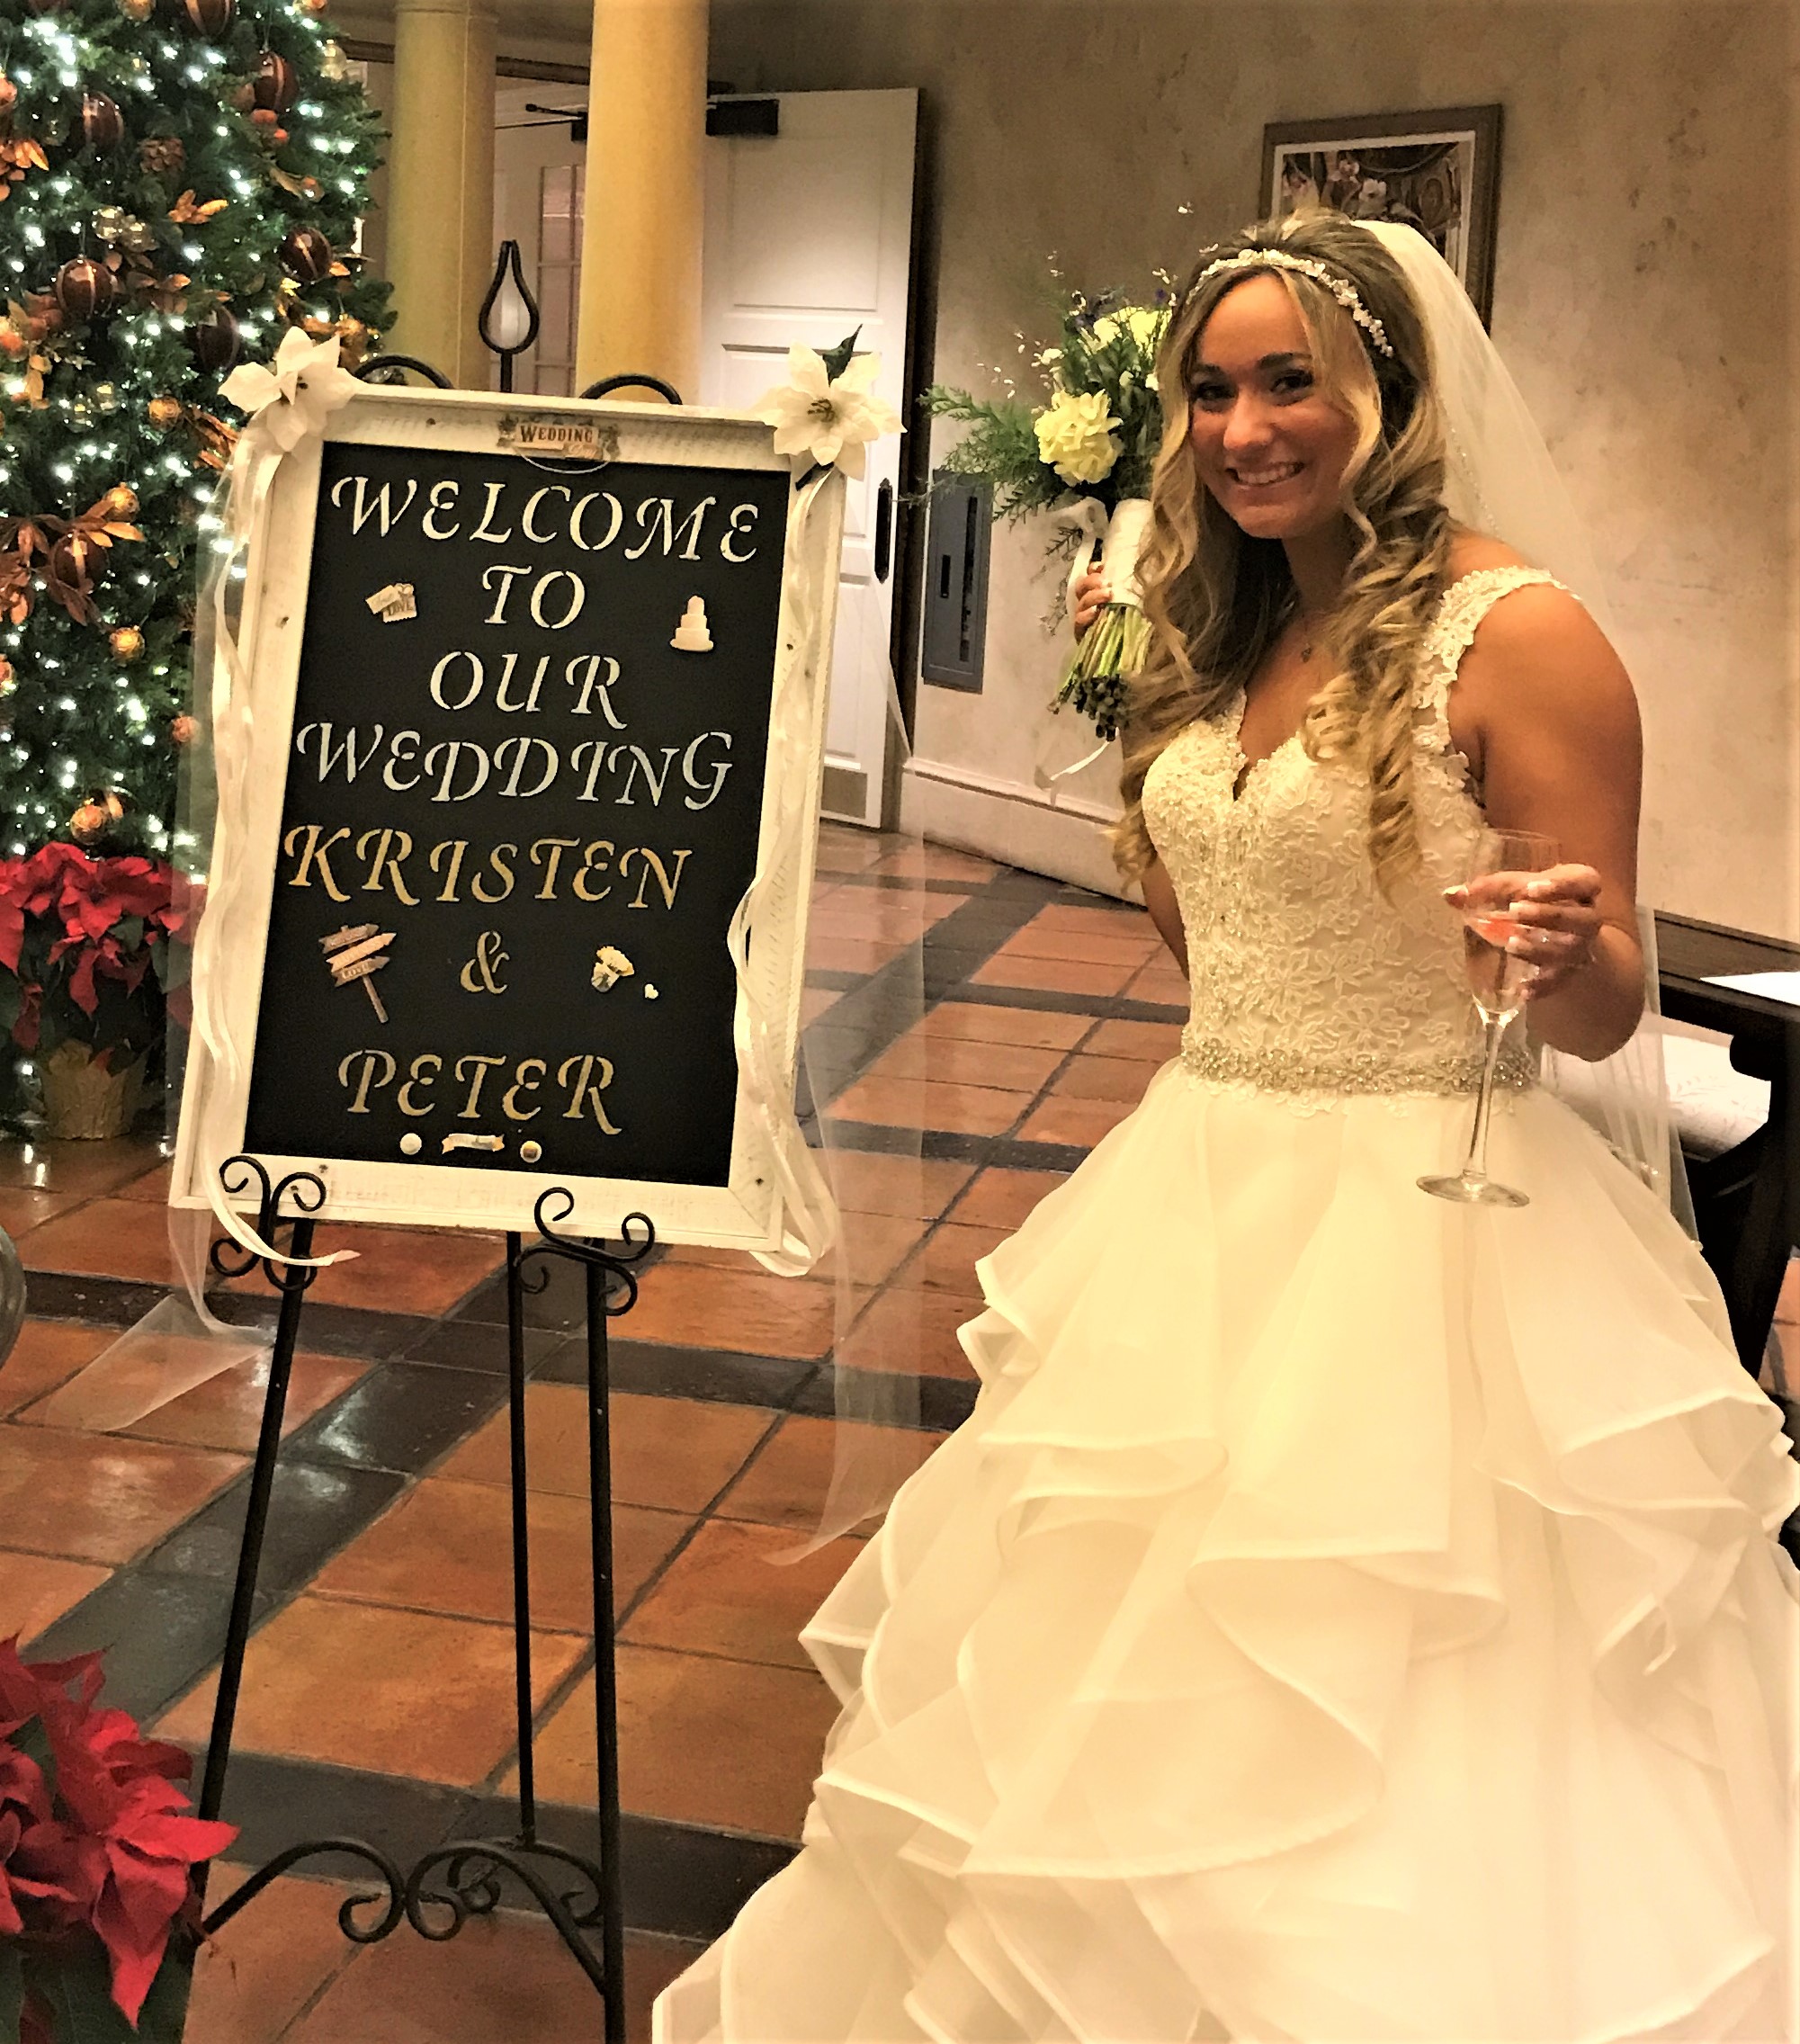
My daughter wanted a “Welcome To Our Wedding” sign as guests walked into the catering hall for the Wedding Reception. We really liked the pretty chalkboard signs that we saw many were using and thought a “Chalkboard Wedding Welcome Sign” would fit our theme perfectly so we decided to make our own!
This DIY Chalkboard Wedding Welcome Sign is easy to make and very versatile so it can be used to Welcome your guests to any party!
Below is the list of all the materials that you need to complete this project!
Materials Needed:
White Tiger Lillies (for corners)
Tule (to hang down sides)
Wedding Stickers
Hot Glue Gun
Glue Sticks
We found this very nice Rustic Whitewashed Chalkboard which fit the theme of her wedding perfectly. We wanted the sign to make a statement when guests entered the catering hall so we chose the 20 x 30 in frame.
You can get the chalkboard here:
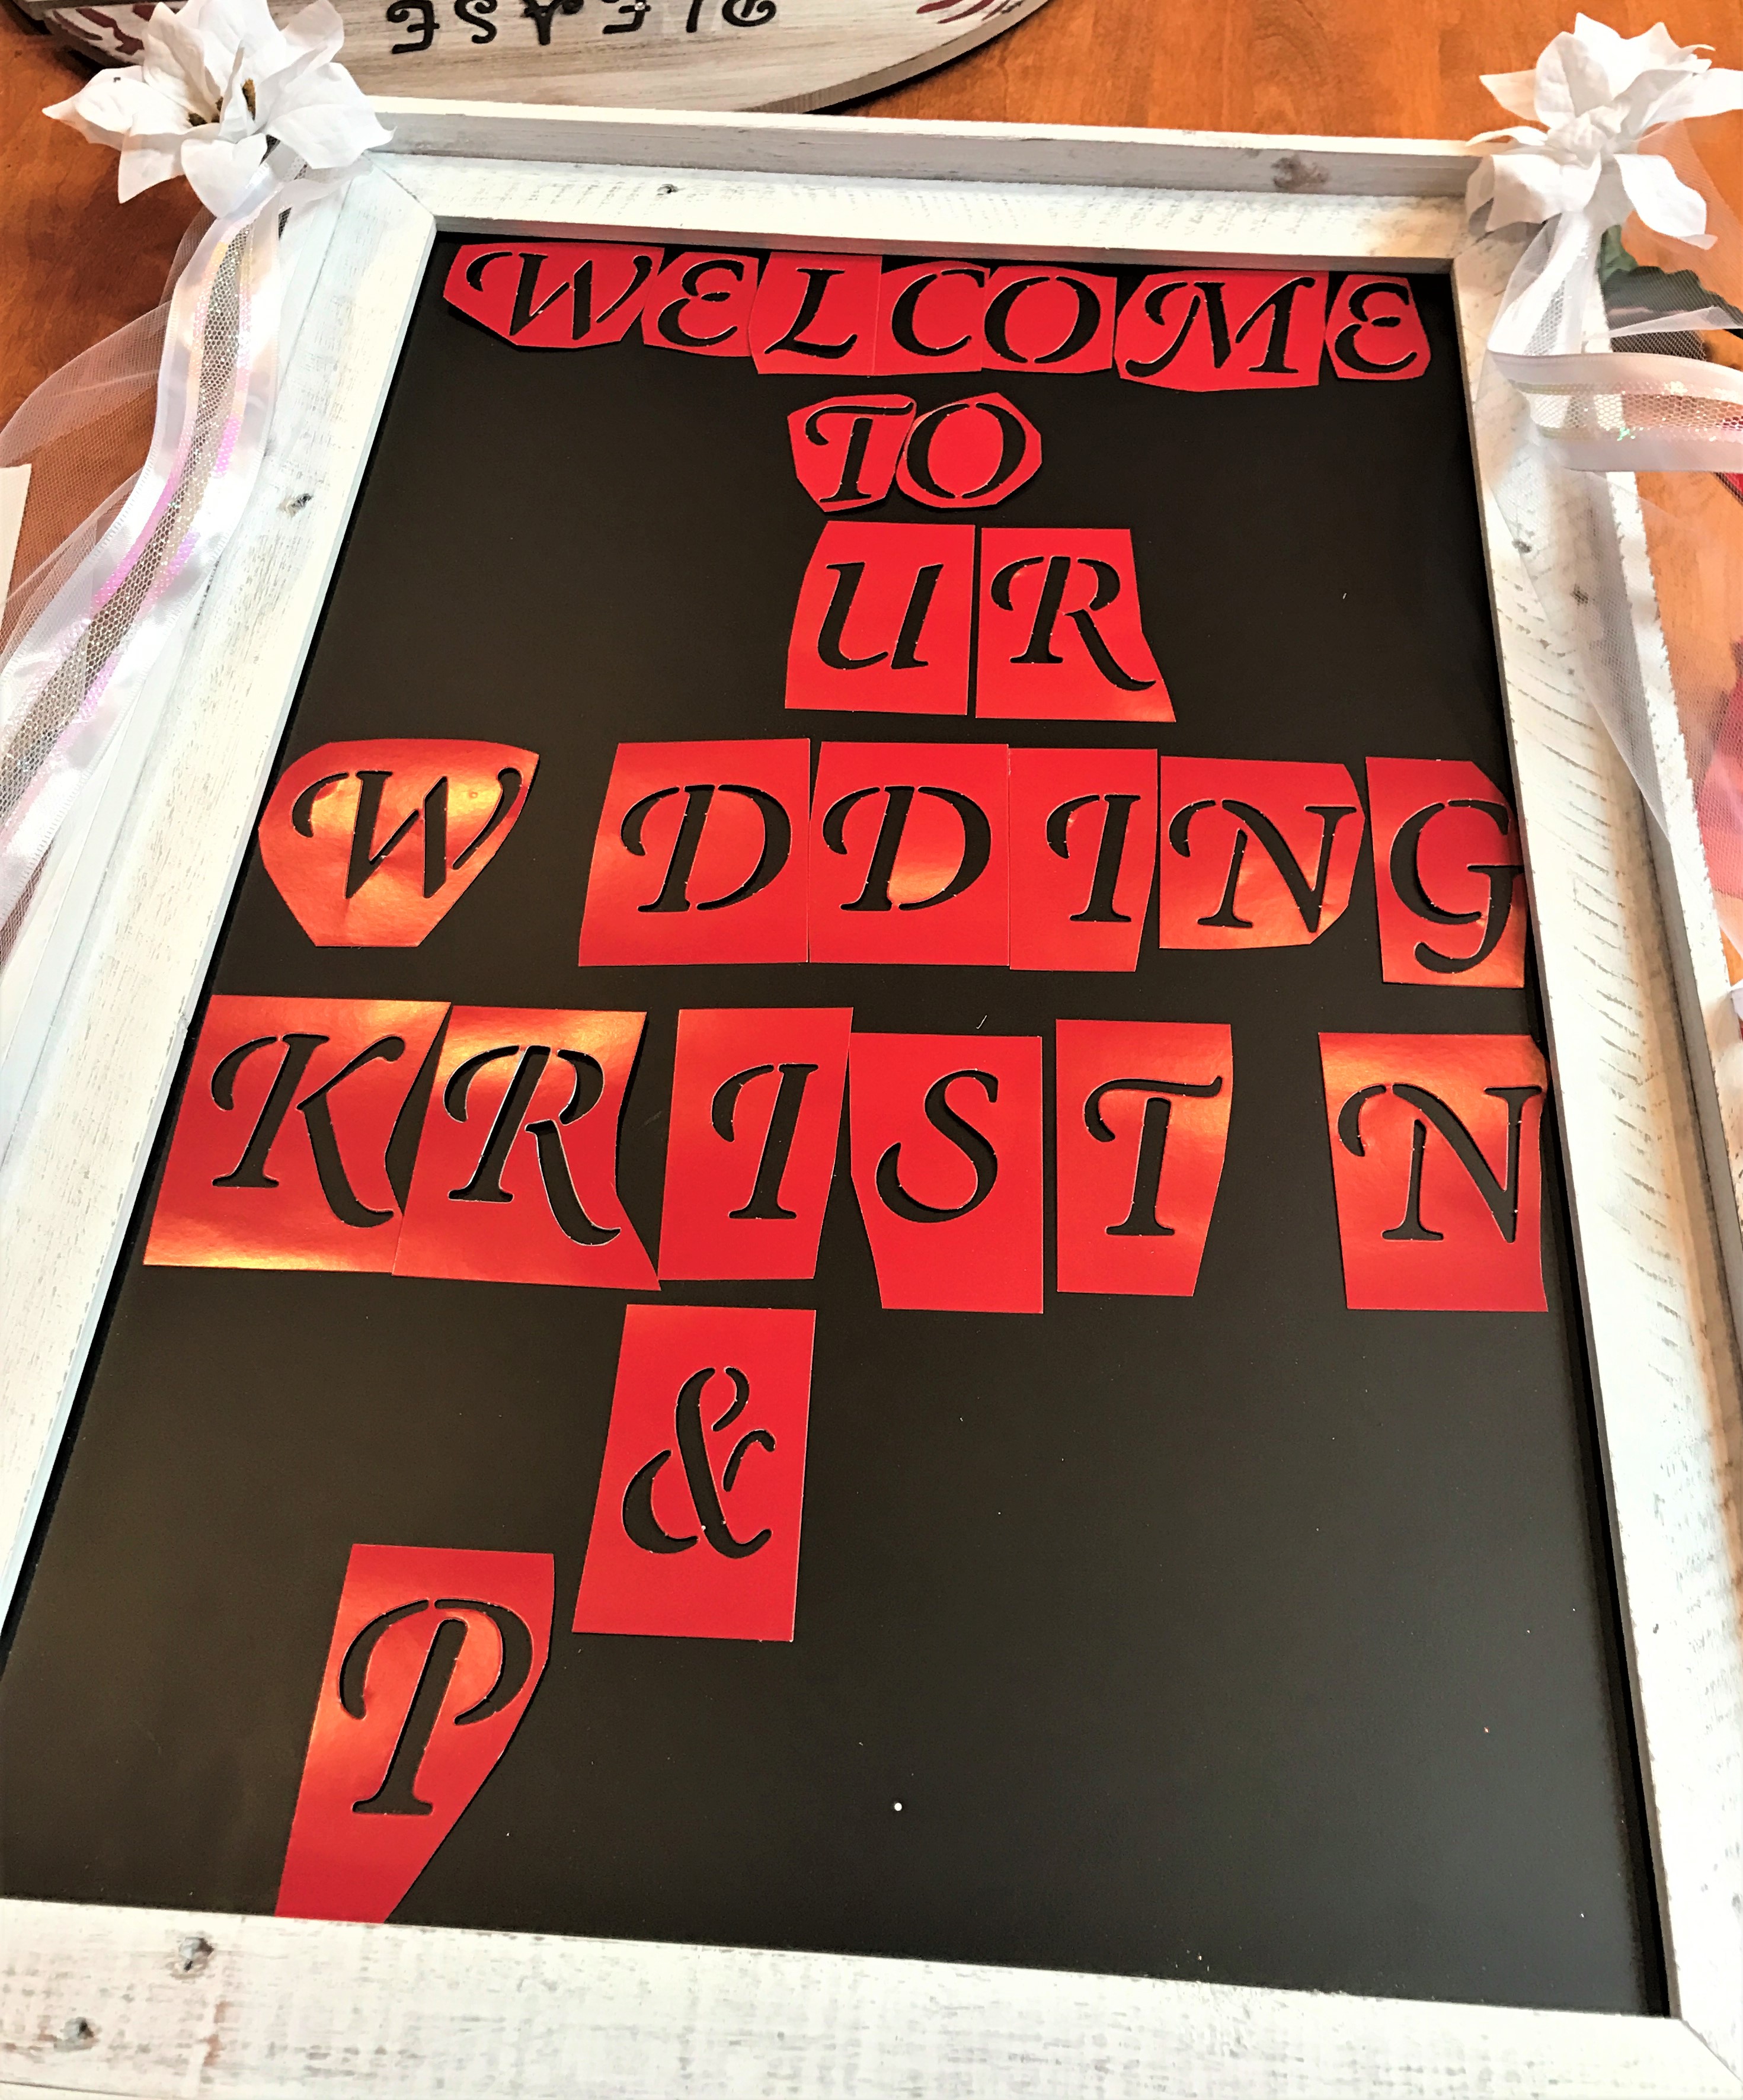
Now that we found the chalkboard, we needed to find the right stencil! Believe it or not…that was easier said than done! I really don’t want to tell you HOW MANY stencils I bought until we found the right sized letters and the right font for a wedding!
We finally found these Wedding Stencils and the lettering was perfect for the board!
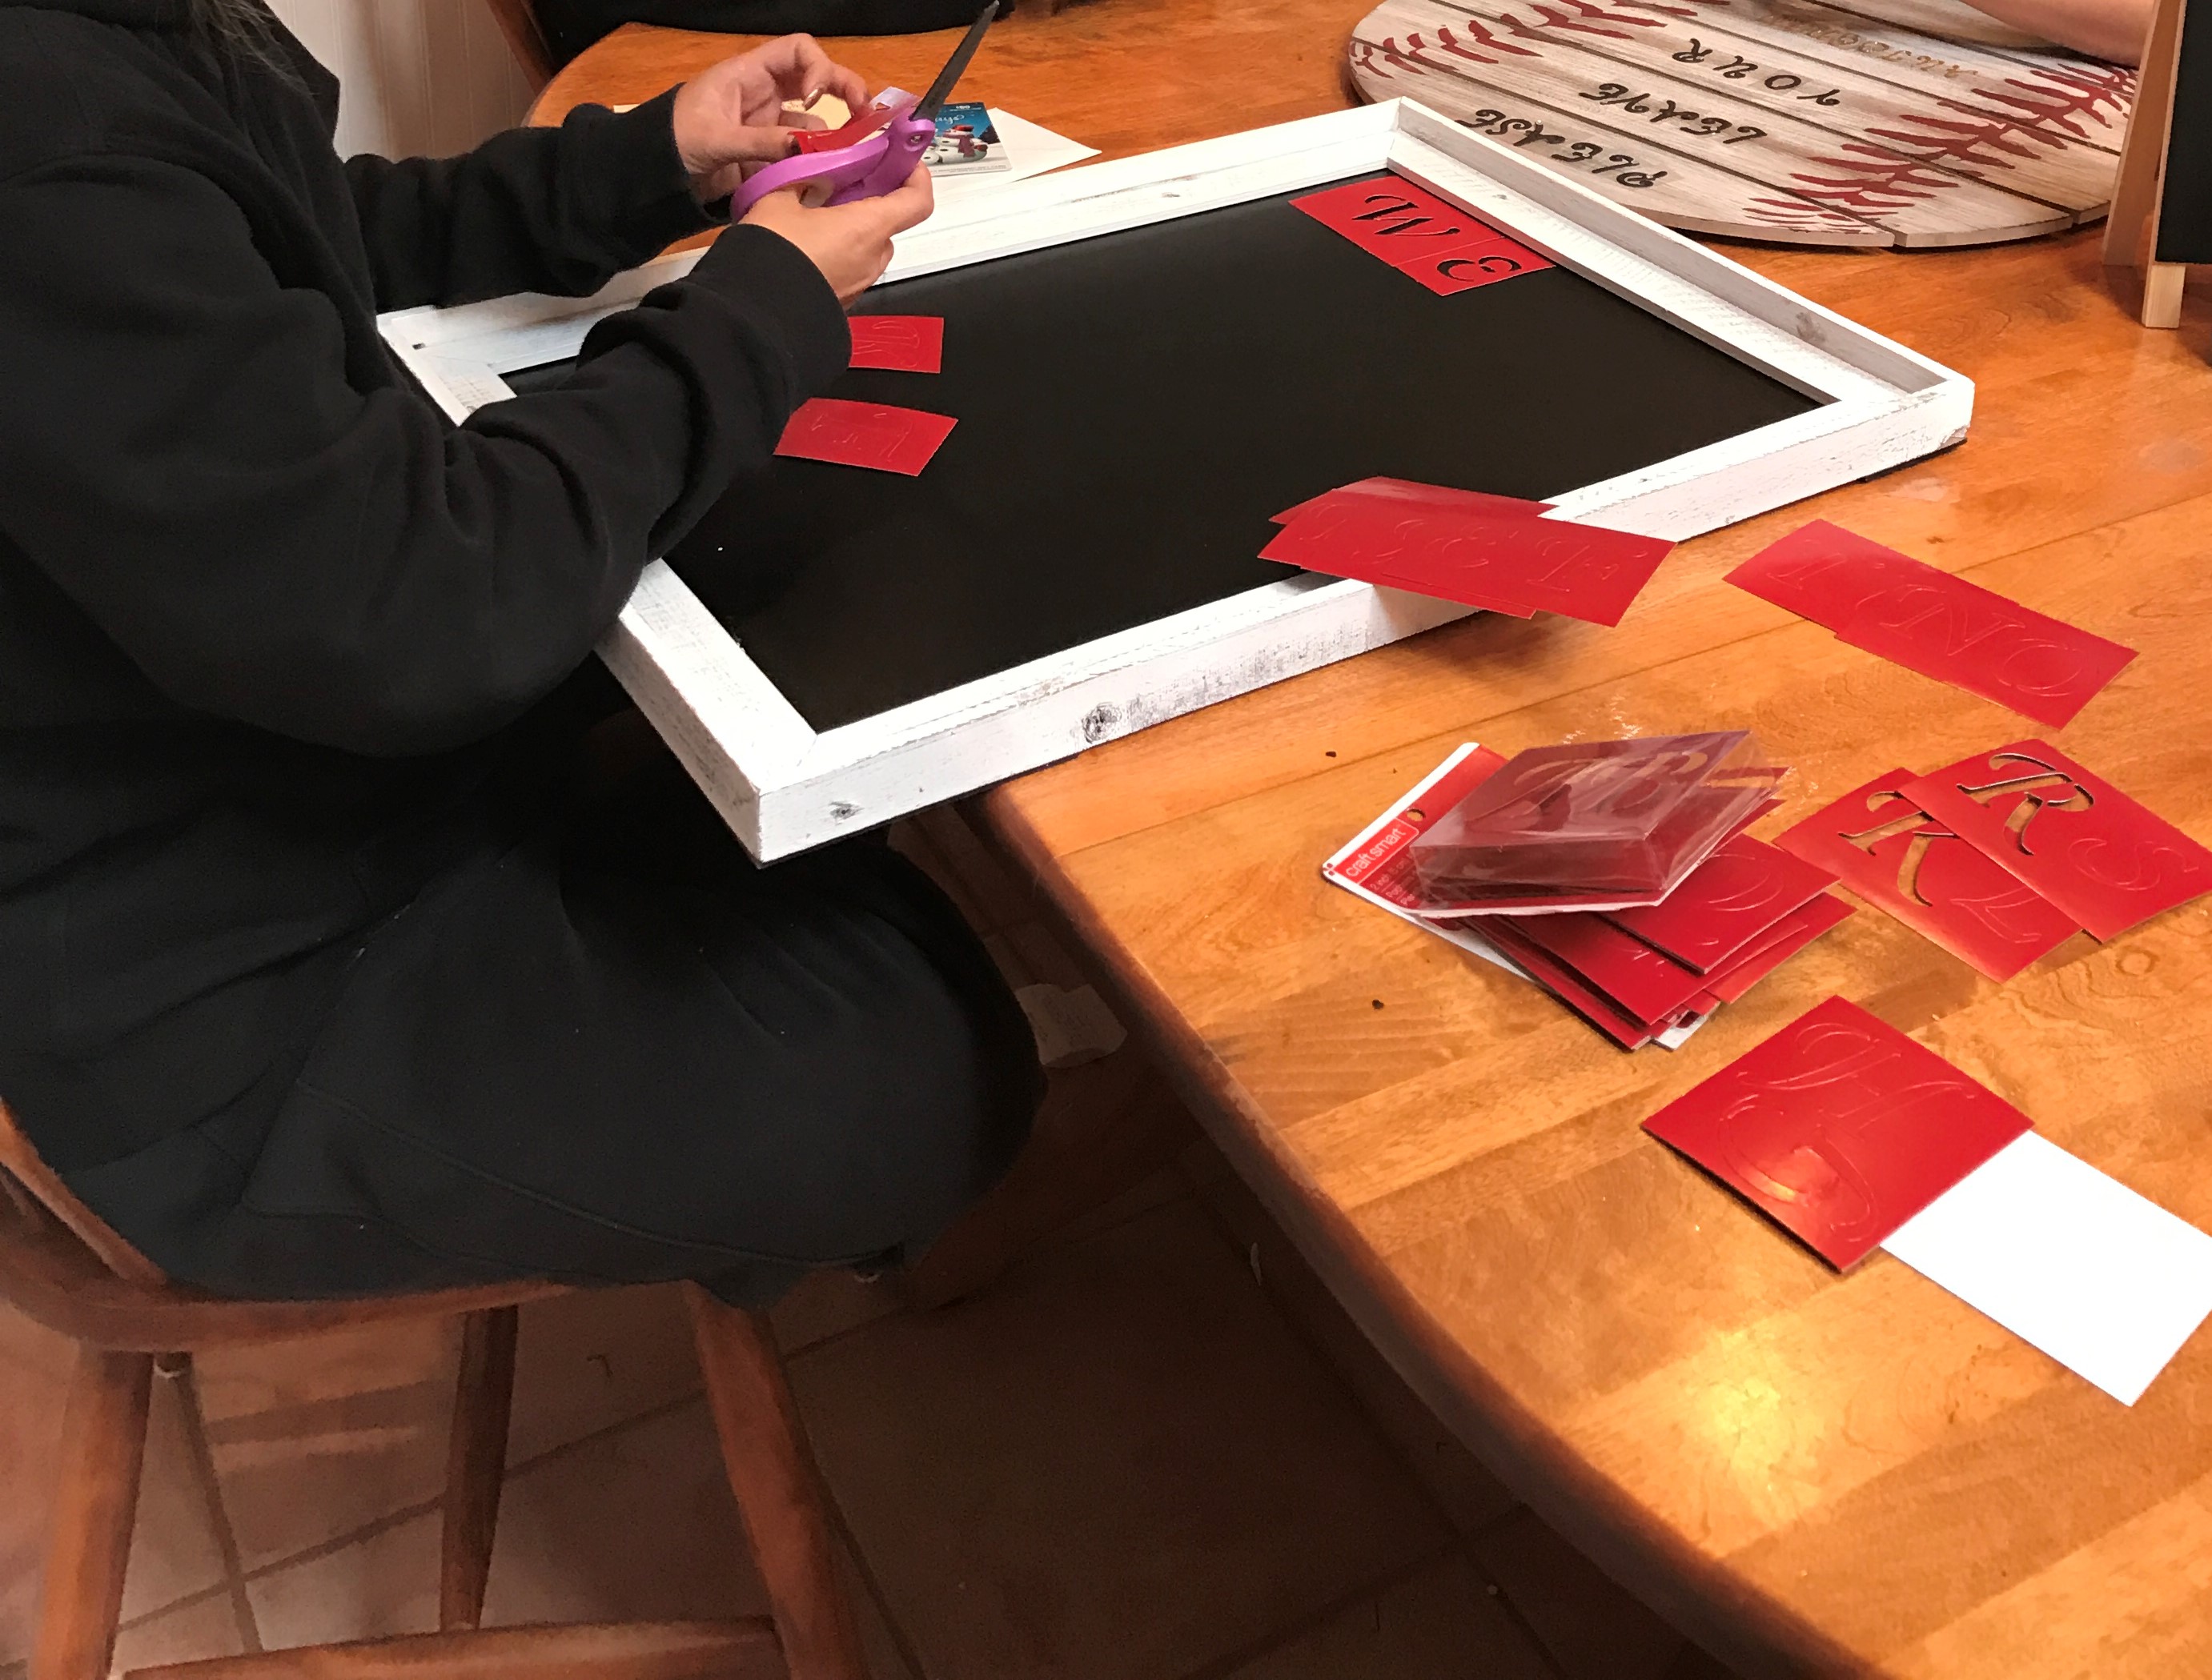
Here’s a picture of my daughter working on the chalkboard a few days before the wedding. Yes…it was THAT close! She was also in the midst of taking 18 credits at college and her wedding was during finals week!
At first, the board wasn’t as easy to make as we thought it was going to be, but she finally we got the hang of it and figured out how to lay out the letters. The kit only comes with 2 of each letter, so you have to make sure to leave room for the missing letter!
You can get these perfect stencils here:
Next, don’t forget to get Chalk Markers. Regular chalk won’t work on this type of board. Be sure to get enough colors including white.
These Chalk Markers include a lot of colors and have a reversible tip.
I wanted to add something down the sides of the chalkboard, so I cut white Tule and then cut white sheer organza ribbon and intertwined them down the sides. This created a whimsical look I was looking for.
You can get the White Tule here:
You can get the White Sheer Organza Ribbon here:
I also added White Tiger Lillies to each side. These were a little tricky to get them to stay on, but I think it added a lot and made the tule, ribbon and lillies all look perfect together!
First I used the hot glue gun to glue the ribbon and tule to each side at the top corner of the board. When that was secure, I cut one flower and some of the greenery off the stem (so I actually cut 2 sets) and hot glued a set to each side at the top of the board. That was the tricky part but they do stay (if you use a lot of glue)!

Finally, we picked up some wedding stickers which we added to the spaces on the board and the top sticker said “Wedding Day”! Which was perfect!
I hope you try this easy to make DIY Chalkboard for your next party! Let me know how yours turns out!